
Making a Marbled Candle
Creative Spell Work for Making a Spooky Candle Effect

If if you're a crafty person with a love for aromatherapy and the macabre, you're in the right spot.
As an experienced candlemaker, I'll show you a simple method to bring character to a sculptural candle with a marbling technique.
Marbling gives an effect reminiscent of - well - marbled stone! In short, you use two different wax colors that you overlay in the mold to get this beautiful look.
Now, let's get creative.
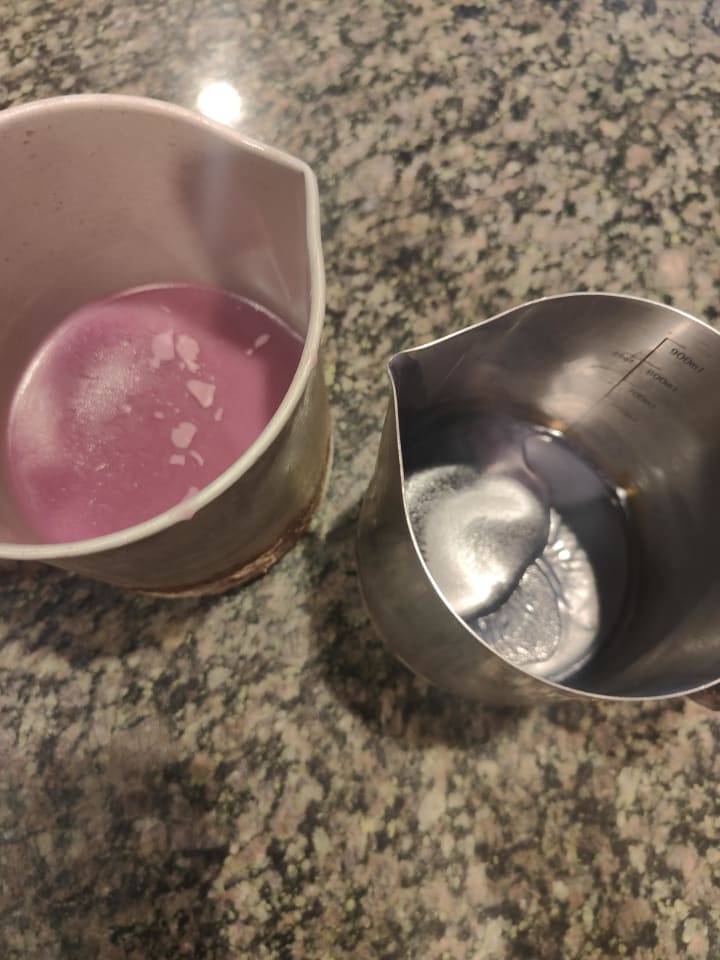
1.) Choose your wax colors.
Decide on 2 colors for your candle marbling. I chose purple to marble onto a black candle. Mix dye into your melted wax at your chosen waxes temperature.
Note: My preferred wax for sculptural candles is soy-pillar wax. Soy-pillar wax is harder than your average soy blend as it maintains the shape of the sculptural mold well.
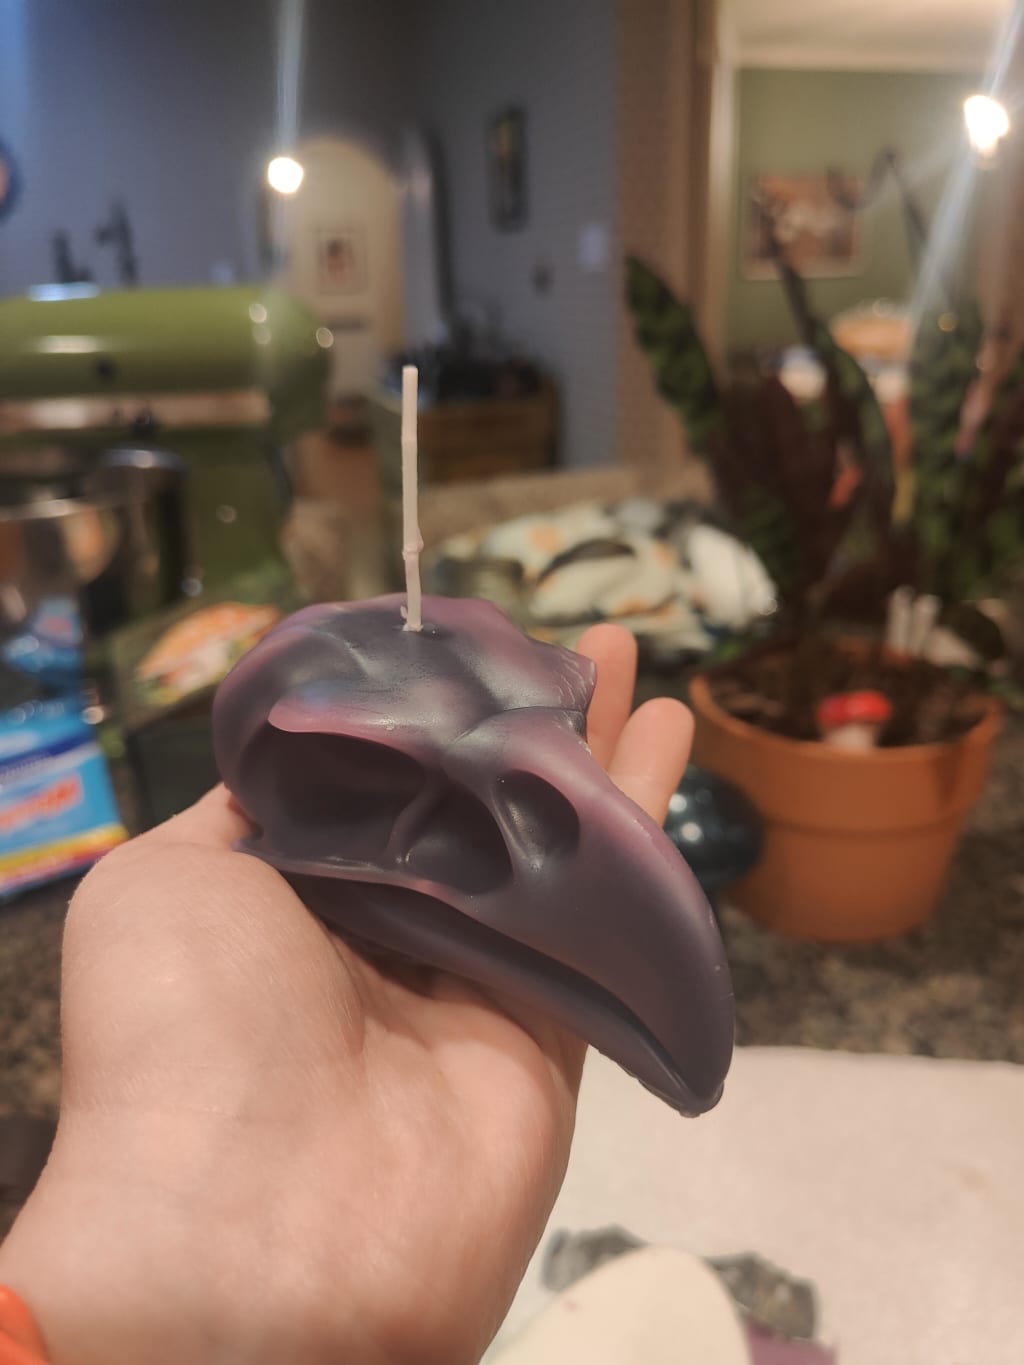
2. Choose a candle mold. Pour marbling color into mold.
I’m going with a raven skull mold. Melt the colored wax you’ll use for the outer marbling at the defined wax temperature to pour. In this case, I use purple for to be the outer marbling color. Let wax sit for 1-2 minutes to slightly harden.
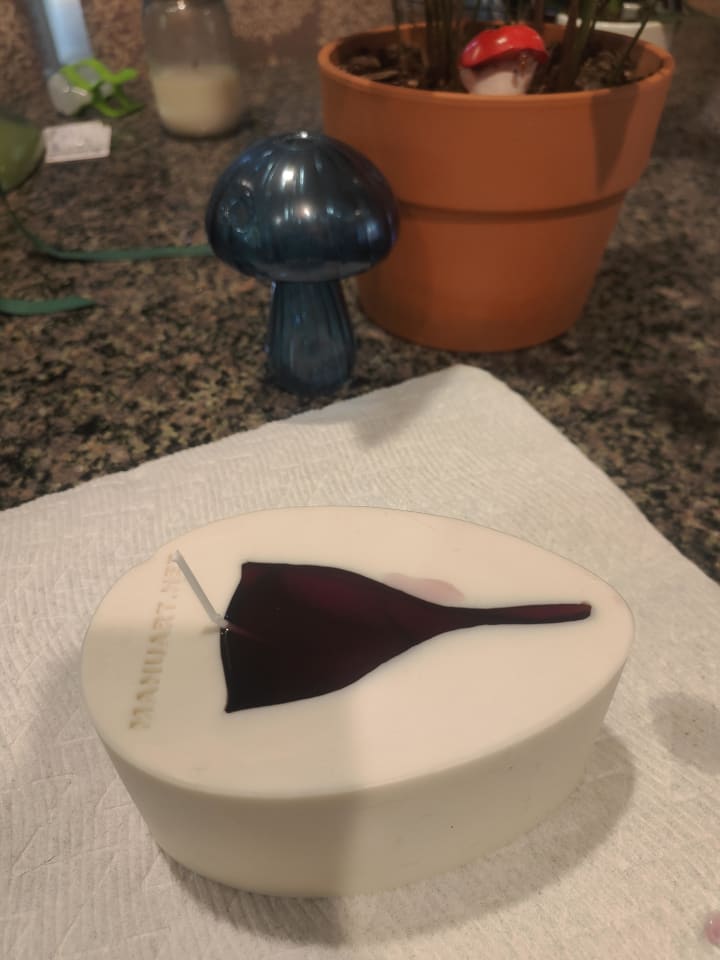
3. Pour outer wax back into pitcher.
At this step, you will let your mold sit for 2-3 hours in a dark place. This enables the wax to further harden, and will lead to a vivid marbling.
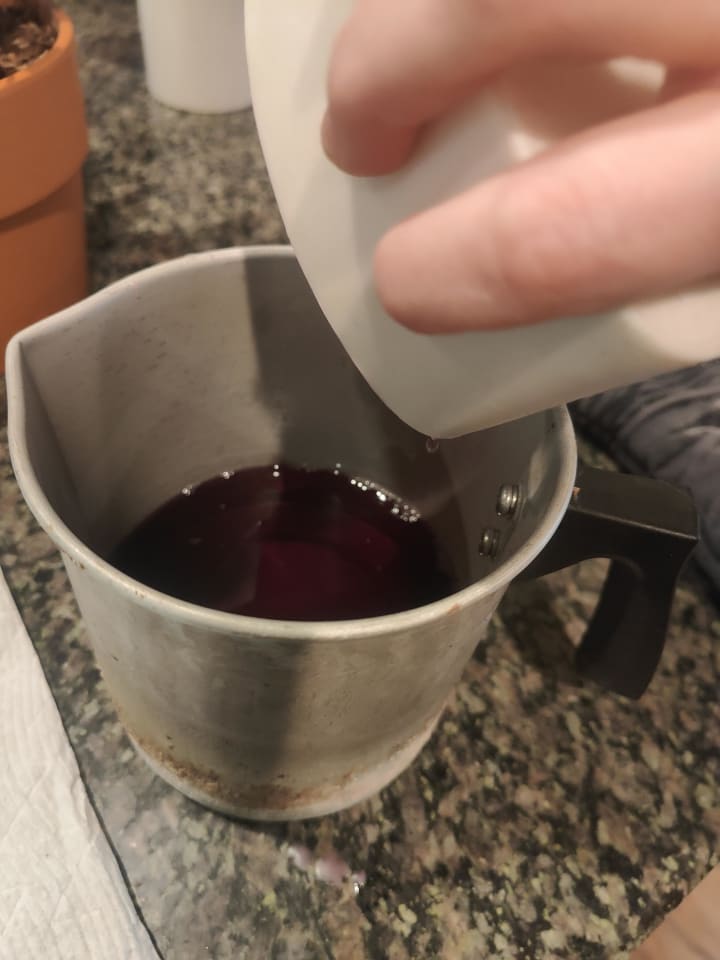
4. Pour in your base color wax.
The base color in my sample is black. I pour this into the mold next.
At this point, place your wick bar to keep the wick in position. Let candle sit for 6 hours.
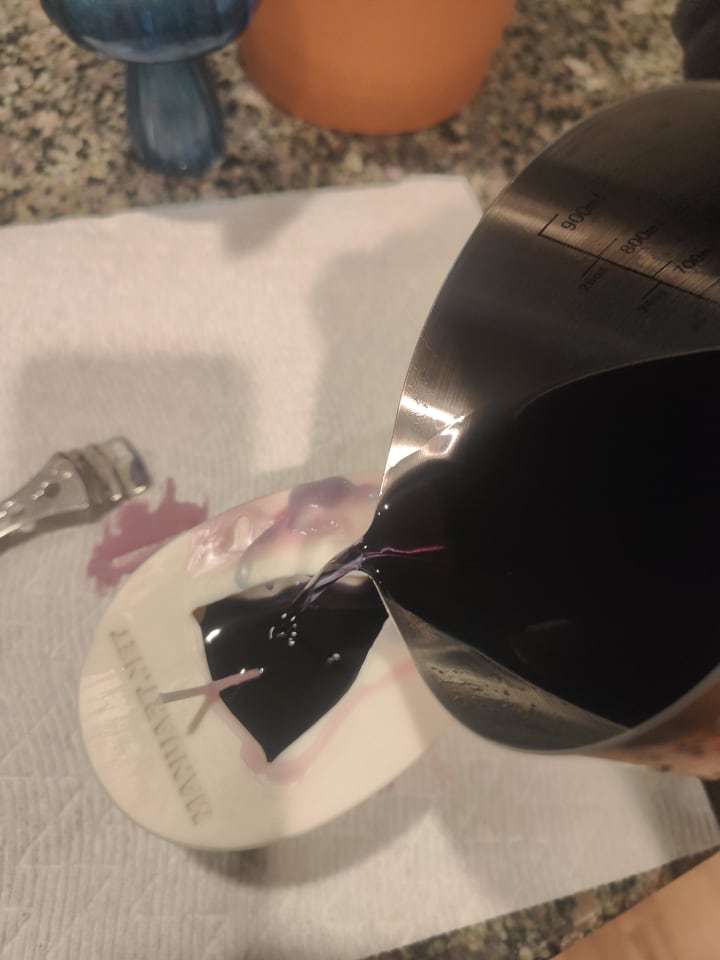
5. Wait at least 8 hours for the candle to set. Pop out your beautifully marbled candle.
--------------
And, there you have it! It may take a few times to get it right - especially, the marbling effect. Practice makes me perfect. And, have fun!
About the Creator
Tori
I am a multi-faceted creative with a background in leadership, a love for writing, and an endless itch to learn and make. I find my harmony in nature, music, aromatherapy and good company.
Pakistan deploys helicopters, drones to end standoff with Baloch rebels
Pakistan Deploys Helicopters, Drones to End Standoff With Baloch Rebels Pakistan’s security forces have intensified operations in Balochistan by deploying helicopters and surveillance drones to break a prolonged standoff with Baloch rebel groups, underscoring the growing complexity of internal security challenges in the country’s largest and most volatile province. The move reflects Islamabad’s determination to restore control while balancing military pressure with political and social sensitivities in a region long marked by unrest.
By Sain Hafiz2 days ago in Art
Tom Morello: The Revolutionary Guitar Legend Shaping Modern Rock Music
Who Is Tom Morello? Born Thomas Baptist Morello on May 30, 1964, in Harlem, New York, Tom Morello grew up in Illinois before moving to Los Angeles to pursue music. He studied political science at Harvard University, a background that would later deeply influence his songwriting and activism.
By youssef mohammed6 days ago in Art


Comments (1)
Well-wrought! Cool dragon at the end too!