
Easy Arabic Mehndi Design Back Hand With Pictures
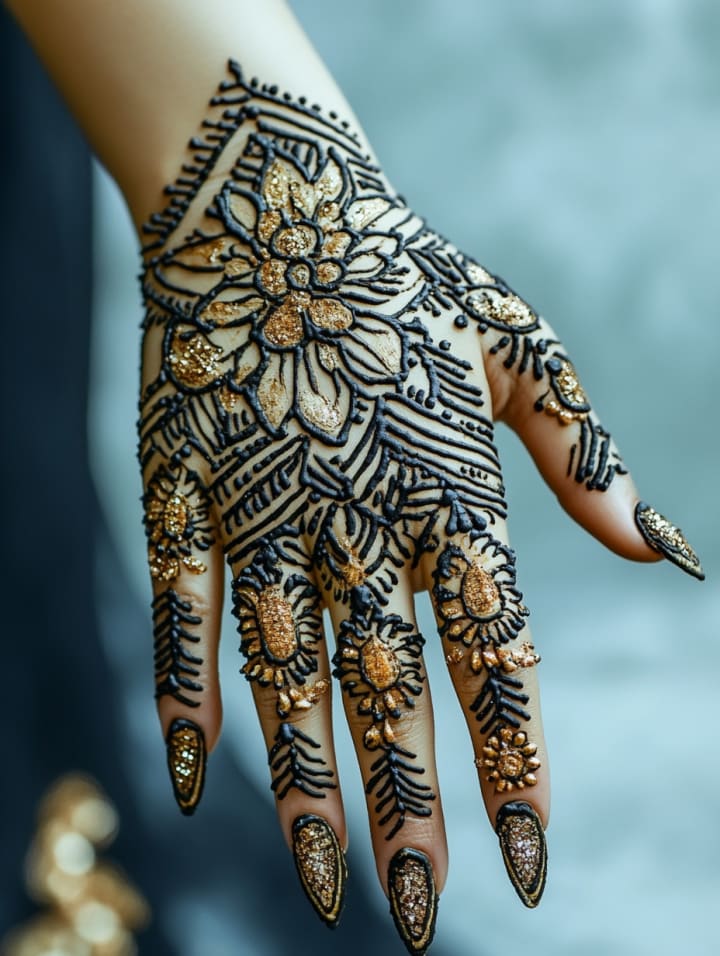
Arabic Mehndi Design Back Hand


Arabic mehndi designs are celebrated for their elegance and simplicity, making them a popular choice for various occasions, from weddings to casual celebrations. One of the most requested styles is the back-hand design, which combines intricate floral patterns and flowing lines with an open, airy feel. What sets Arabic mehndi apart is its use of bold motifs and negative space, creating a striking yet effortless look that’s perfect for beginners and seasoned artists alike. In this article, we’ll explore easy Arabic mehndi designs for the back hand, complete with pictures, so you can get inspired to adorn your hands with beautiful patterns. Whether you're preparing for a festive event or simply want to practice, these simple yet stylish designs will help you create stunning artwork in no time.
Easy Arabic Mehndi Design Back Hand:
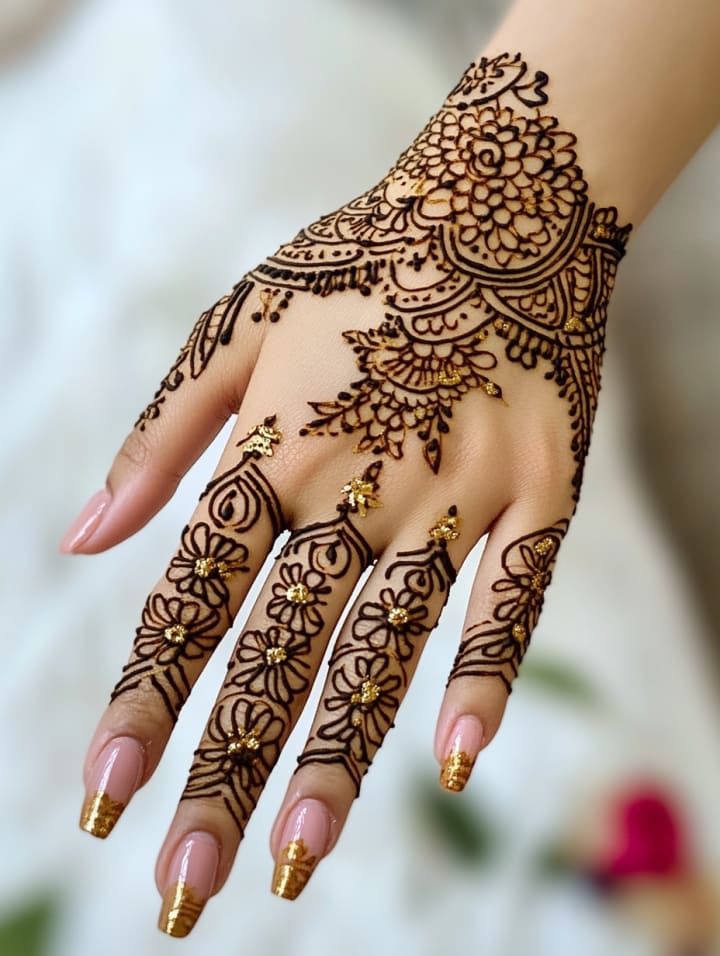
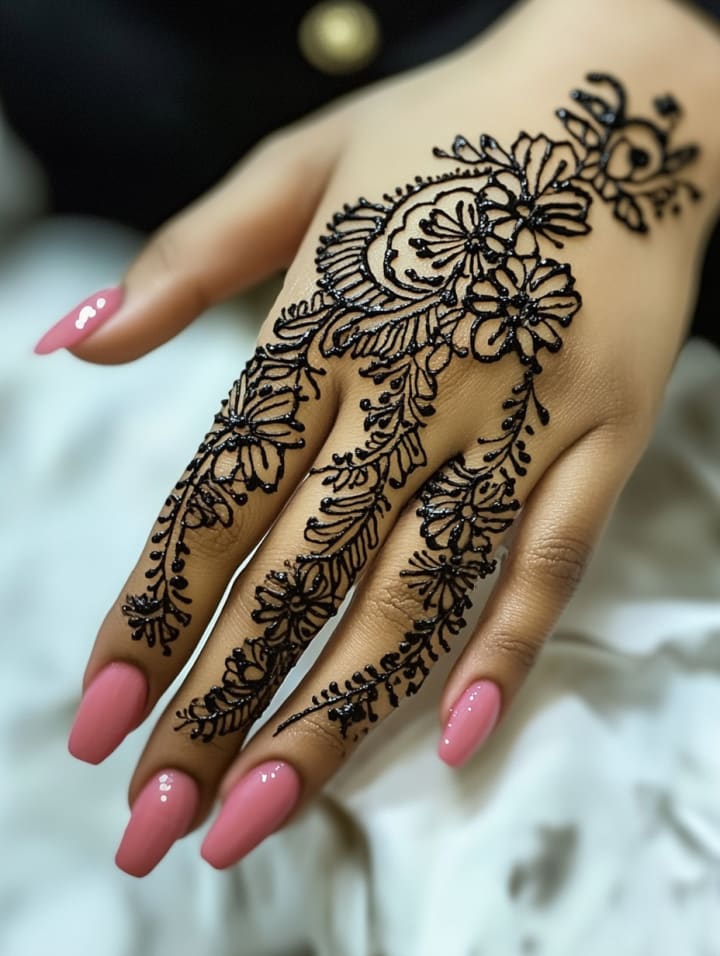
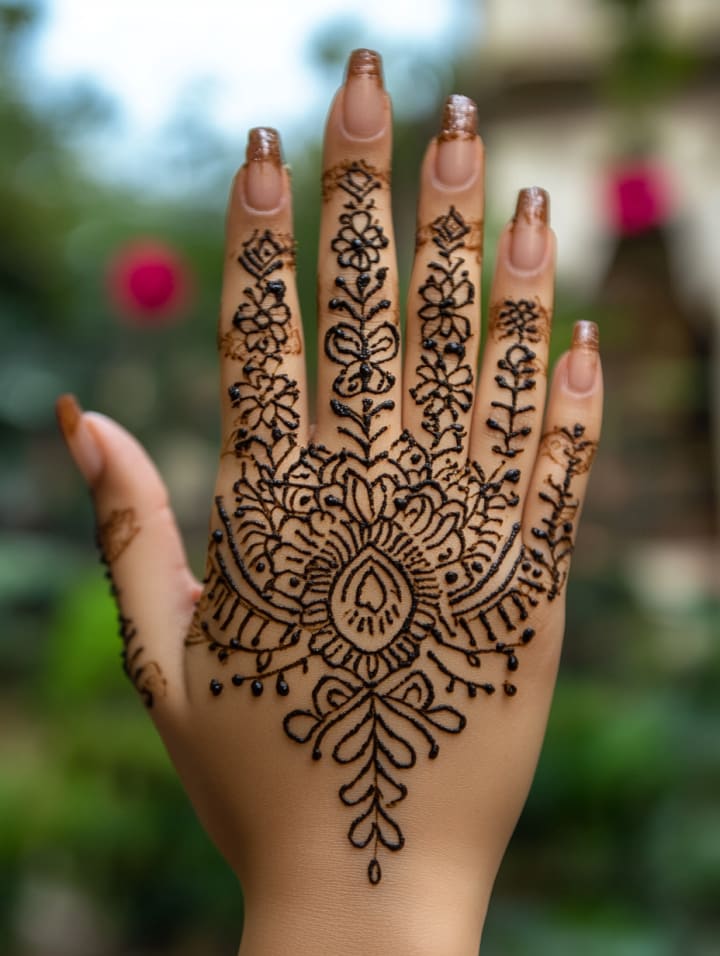

Arabic mehndi designs are known for their simplicity and elegance, making them ideal for beginners and casual occasions. Featuring bold floral patterns, flowing vines, and open spaces, these designs for the back hand are easy to create while offering a stylish and graceful look. In this article, we’ll showcase some simple Arabic mehndi designs that are perfect for enhancing the beauty of your hands effortlessly.
Easy Arabic Mehndi Design Back Hand Tutorial:
Creating an elegant Arabic mehndi design for the back of your hand is simple if you follow these easy steps:
Step 1: Prepare the Mehndi Cone
Make sure your mehndi cone is ready with a fine tip for detailed work. Cut the tip of the cone to your desired size for precise control over your lines.
Step 2: Start with the Wrist
Begin by drawing a small, simple flower or leaf pattern at the wrist. This will be the base of your design.
Use bold lines for outlining and fill in the petals or leaves lightly.
Step 3: Create a Diagonal Flow
Extend the design diagonally across the back of the hand by adding more flowers, vines, or leaves. This creates a flowing, connected pattern that is typical of Arabic designs.
Keep your lines spaced out, leaving negative space to maintain the signature Arabic mehndi look.
Step 4: Focus on the Fingers
Add simple, bold patterns to the fingers. You can either fully cover one or two fingers or just create small, decorative patterns like spirals or dots near the tips.
Make sure the design flows from the fingers down to the rest of the hand, keeping a balanced composition.
Step 5: Add Details and Final Touches
Once the main design is complete, add small dots, swirls, or lines to fill in any gaps while keeping the design simple.
Be sure not to overcrowd the design, as Arabic mehndi typically uses minimal filling.
Step 6: Let It Dry
Allow the mehndi to dry for at least 20-30 minutes. Once dry, you can scrape off the dried mehndi and apply a mixture of lemon and sugar to enhance the color.
With these steps, you’ll have a beautiful and easy Arabic mehndi design that looks graceful on the back of your hand!
Tips for Creating Arabic Mehndi Designs on the Back Hand:
Use Bold Lines
Arabic mehndi designs rely on bold, prominent lines. Make sure to use a mehndi cone with a slightly wider tip to create those thicker lines, which define the design beautifully.
Emphasize Negative Space
One of the hallmarks of Arabic mehndi is the strategic use of negative space, which adds elegance to the design. Avoid overfilling and let the skin show through in certain areas for a balanced, clean look.
Start with Simple Elements
Begin with easy floral patterns, leaves, and vines. These are the most common motifs in Arabic mehndi designs and are simple to execute, especially for beginners.
Create a Flowing Design
Arabic mehndi often follows a diagonal flow across the hand. Start at the wrist or base of the hand and extend the pattern towards the fingers for a natural, organic look.
Don’t Overcrowd the Fingers
Arabic mehndi on the back hand tends to have minimal designs on the fingers, often leaving them mostly blank or lightly decorated with small patterns like dots or lines.
Practice Symmetry
While Arabic designs don’t need to be as intricate as Indian ones, maintaining symmetry between both hands, or within the design itself, creates a more harmonious look.
Use Dots and Swirls as Fillers
If you need to add more details, small dots and swirls can help fill gaps without making the design look cluttered. These are easy to add and maintain the overall elegance.
Keep It Simple for a Classy Look
Arabic mehndi is known for its simplicity. Stick to the basics to achieve a chic and timeless design, especially for casual events or daily wear.
Following these tips will help you create beautiful Arabic mehndi designs that are elegant and easy
About the Creator
pestosol
Hi.
I am Hmimda 30 years old From Algeria. I am a blogger. I like to share articles about decoration and designs
The Overlooked Intersections of Education, Cultural Heritage, and Public Service in Society
Education, cultural heritage, and public service often appear as separate fields. Schools focus on learning. Heritage focuses on history and tradition. Public service focuses on helping people. Yet these areas are deeply connected. They shape values, guide behavior, and support communities. When viewed together, their shared purpose becomes clear. At the center of this connection is education, cultural heritage, and public service, a relationship that quietly shapes how societies grow, remember, and care for people. These intersections are often overlooked because they work in subtle ways. They appear in classrooms, museums, libraries, and community programs. They influence how people learn about the past, understand the present, and act for the future. When combined, they create stronger and more informed communities.
By Carmen Reid5 days ago in Education
History and Evolution of Navigation Buoys
History and Evolution of Navigation Buoys For as long as humans have sailed the seas, they have sought ways to navigate safely. Ancient mariners looked to the stars, the sun, and familiar coastlines to find their way. But as trade routes expanded and ships ventured into less familiar waters, a more reliable system was needed to mark hidden dangers and guide vessels into safe harbors. This need gave rise to one of the most fundamental tools in maritime navigation: the buoy.
By social xpertsolutions5 days ago in Education
Foot Bindings
I asked my grandmother how she knew she'd fallen in love. I am not sure I ever did love him, she said. This was before I met my husband. I was naive, a naked spring, a raw nerve of a thing. That cannot ever be me, I knew. Sadness swept in gently like a Moscow thaw. It is no simple thing, looking into a woman's vast soul and seeing its foot bindings. Now, in Italy divorced with my skin singed off, when I say I don't love him mean: I have succeeded at feeling nothing most days and it mostly works. Do you want the comfort of Nothing? Do you want Nothing, too? Be warned: you'll never be free, even when you are nothing. Here is what doesn't work: Accepting the stages of grief. Talking about it. Sitting with the feeling. Missing him—no, the person you were when you believed in death do us part. Writing poetry. That, too. When I say I don't love him I mean: I feel capsized in an endless, starved tide. What sometimes works: selective memory. You must forget ripe tomatoes and his beard and feeling perfectly sheltered in a big blue world. Forget coffee in bed, laughter watching TV, blowing out the candles on the birthday cake and the quiet all-encompassing knowledge that you are chosen. Remember only how love turned to a banal everyday survival act, a trapeze act unsure whether he will catch you, how the warmth stagnated and became sour, remember the foot bindings and remember the resentment boiling in your veins as you stick it out for the kids. Six-hour Netflix binges help, too. A man's fingers tracing your spine. Frozen pizza at 2 a.m. Random trips to the museum just to stand near things that last a while. The realization that crying won’t change anything. Seeing that life is just a dream, and refusing to participate in your own suffering. Bite your fist. Walk on eggshells around joy. When I say I don't love him, I mean he didn’t break my heart, he just stopped touching it and it forgot how to beat right.
By Ella Bogdanovaa day ago in Poets


Comments
There are no comments for this story
Be the first to respond and start the conversation.