
Front Hand Mehndi Designs: Royal, Simple, Stylish, And Modern
Front Hand Mehndi Designs

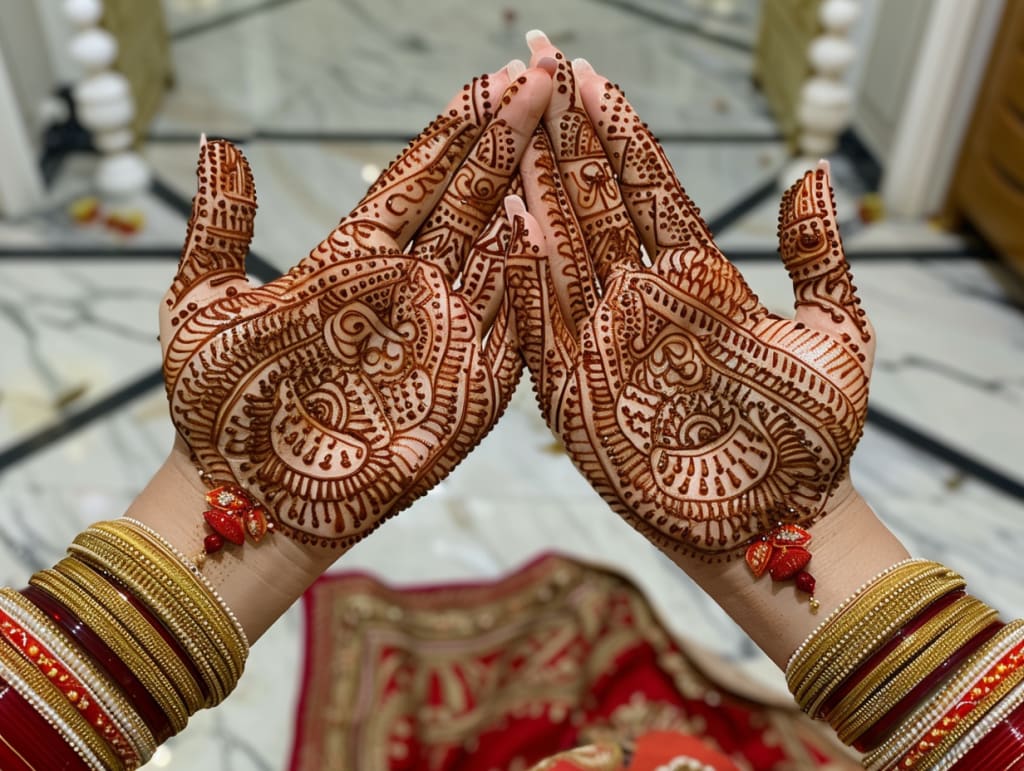
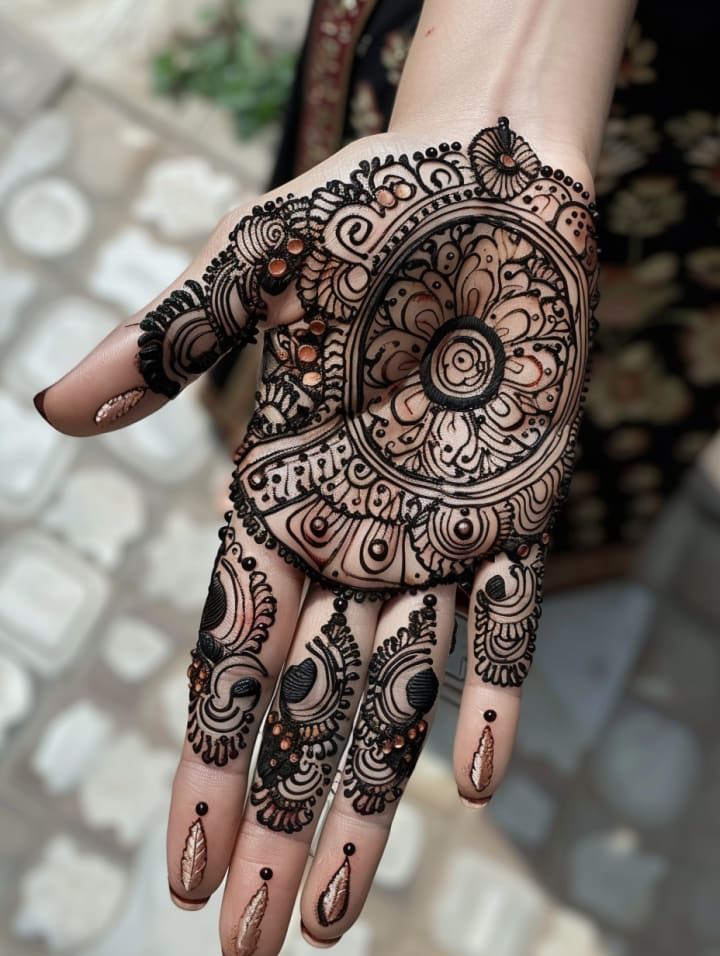
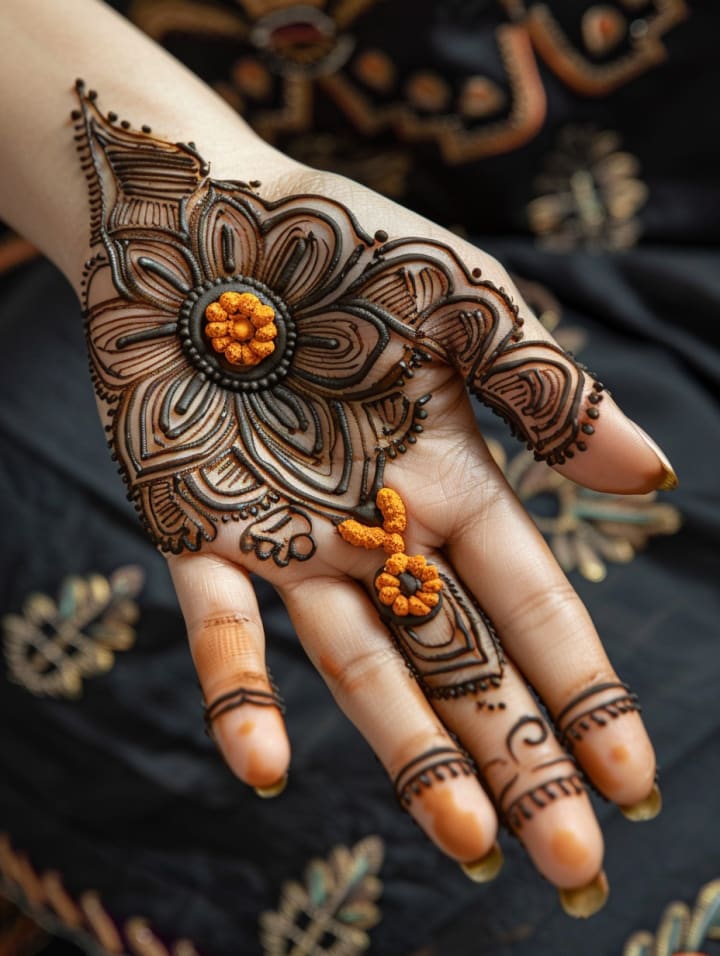
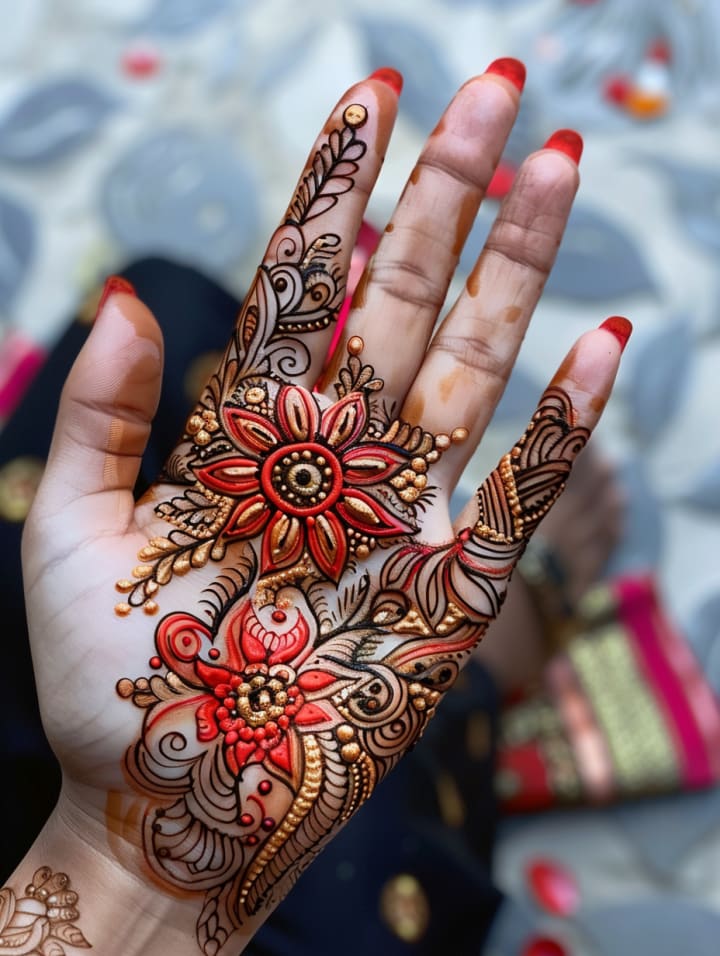
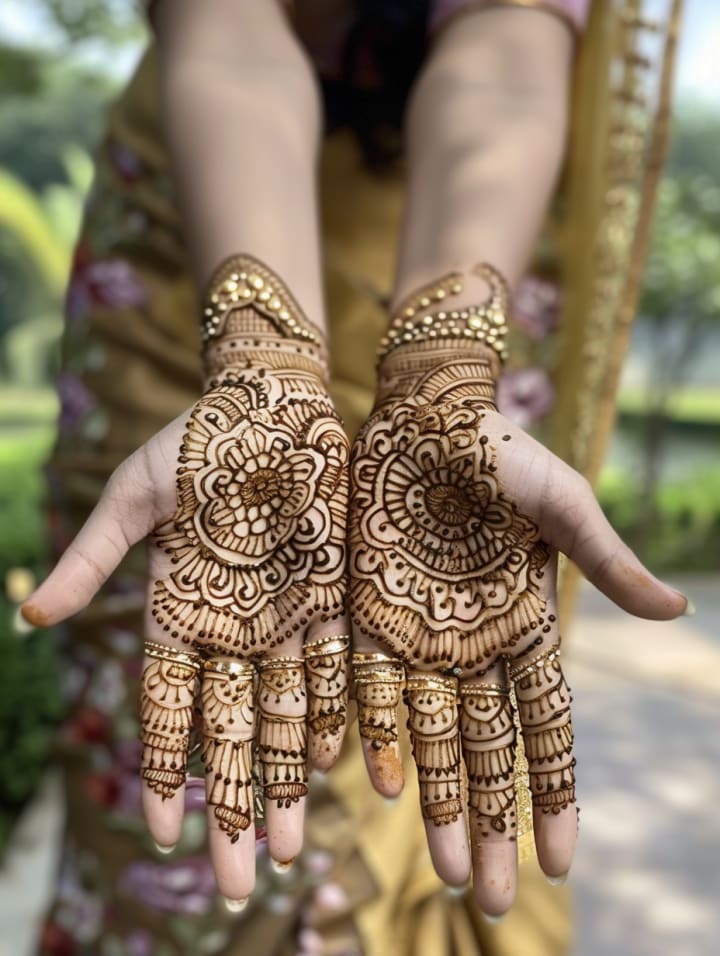
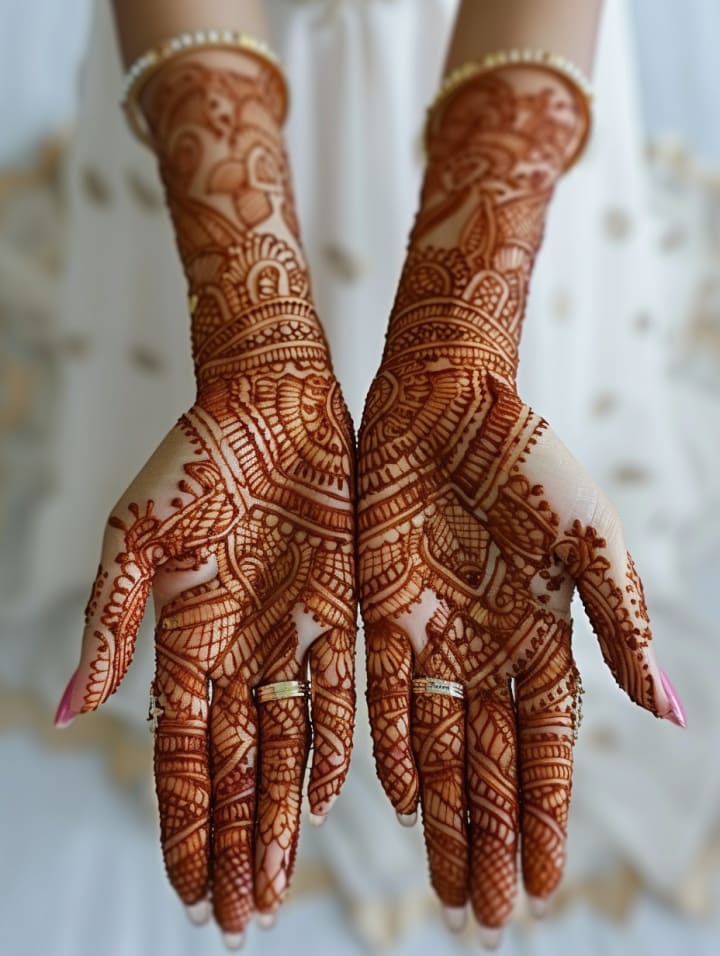
Royal front hand mehndi designs:
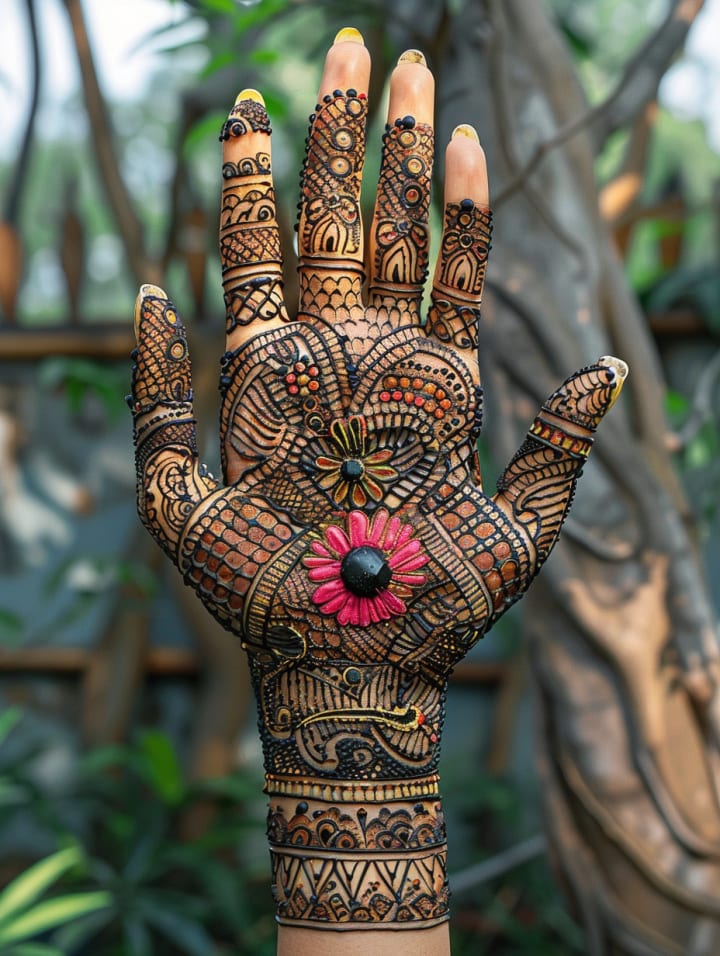
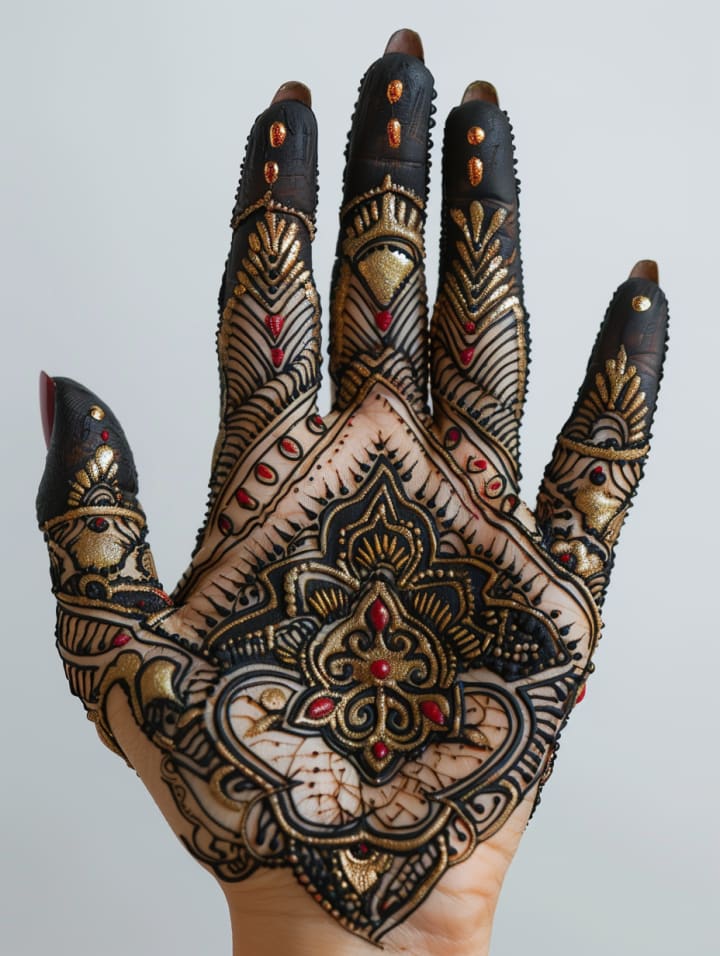
A royal front hand Mehndi design is a luxurious and intricate pattern that exudes elegance and grandeur. It typically features elaborate motifs such as peacocks, paisleys, floral vines, and mandalas, intricately woven together to create a regal appearance. The design covers the palm and extends gracefully up the fingers, often incorporating bold lines and intricate details. Royal designs emphasize symmetry and fine detailing, giving the hands a majestic, timeless look. These patterns are ideal for special occasions like weddings and festive events, adding an aura of sophistication and tradition to the wearer’s hands.
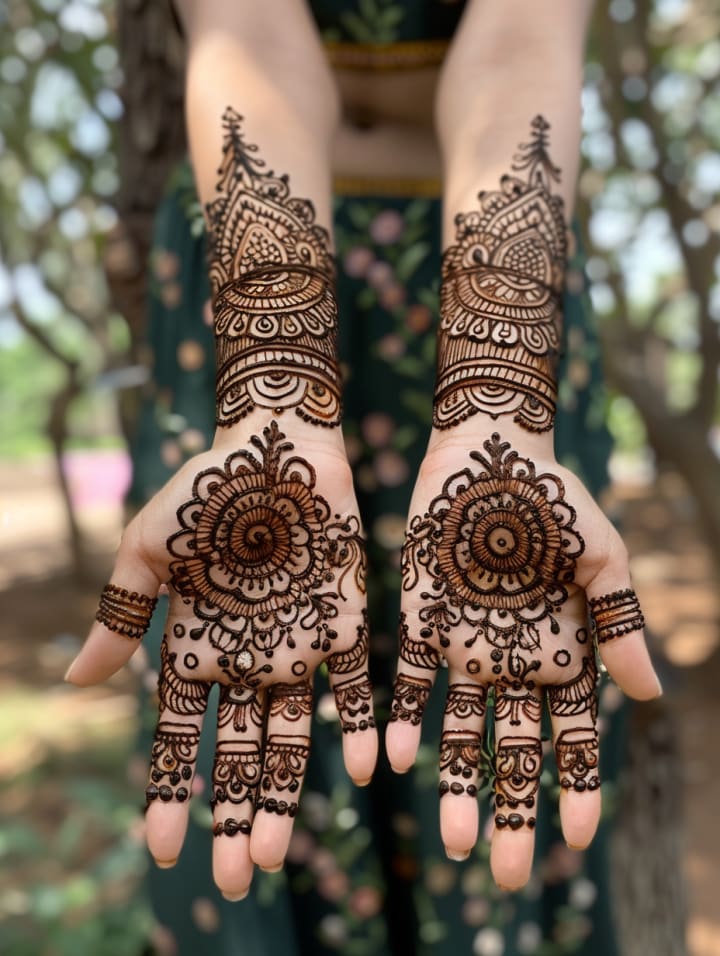
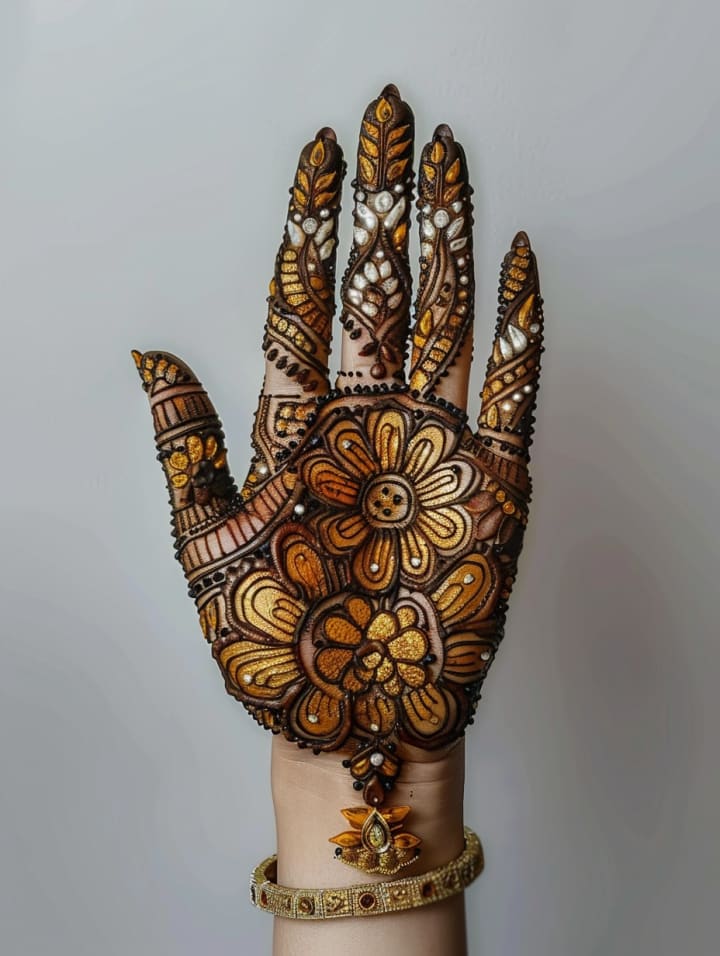
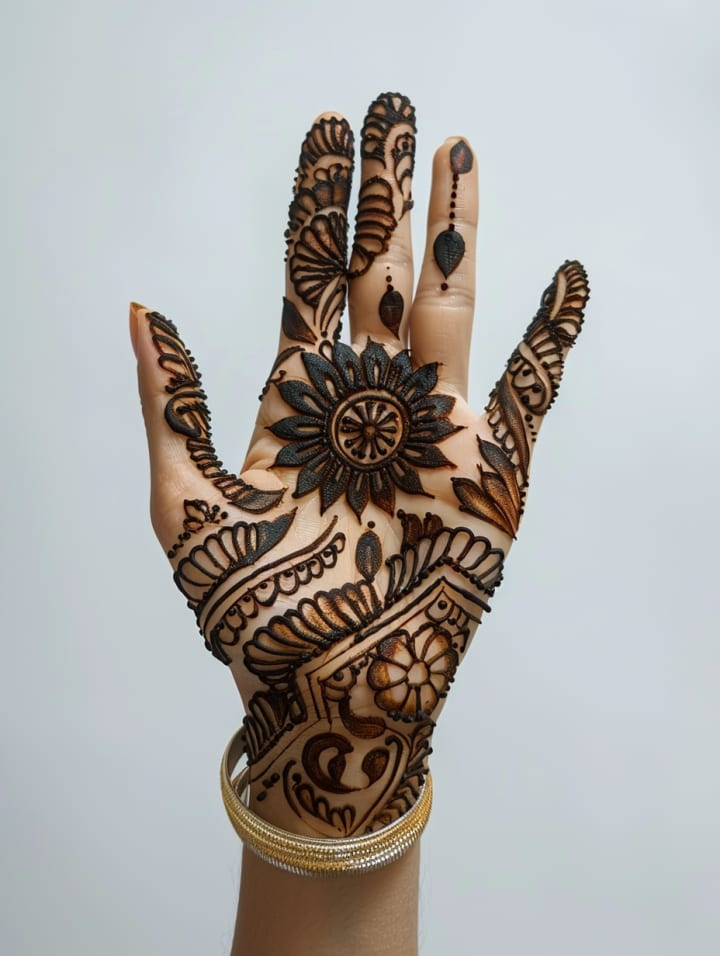
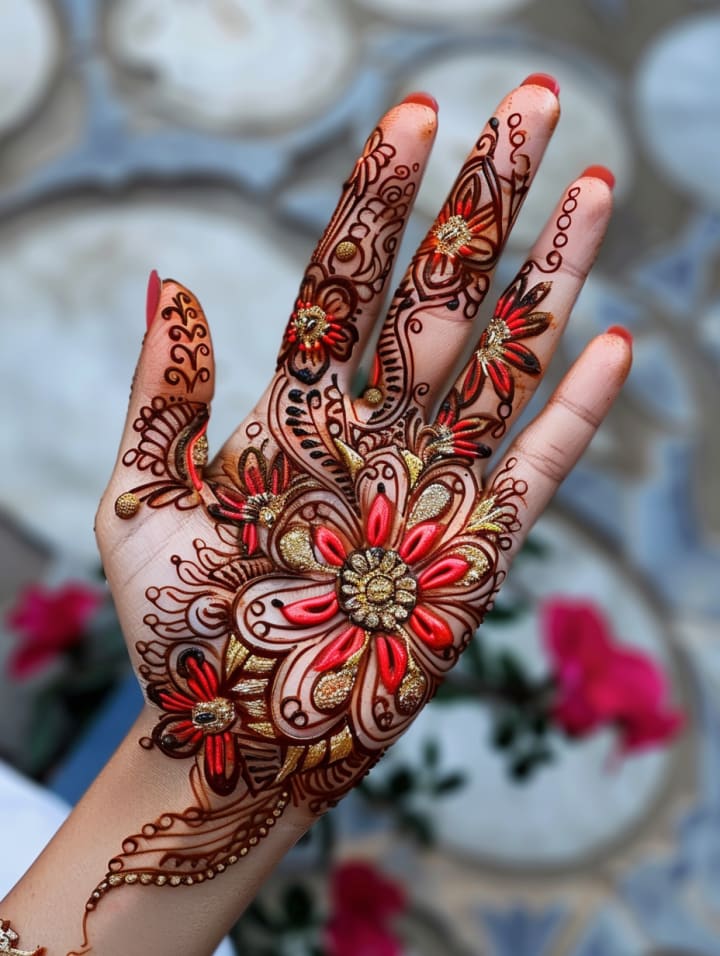
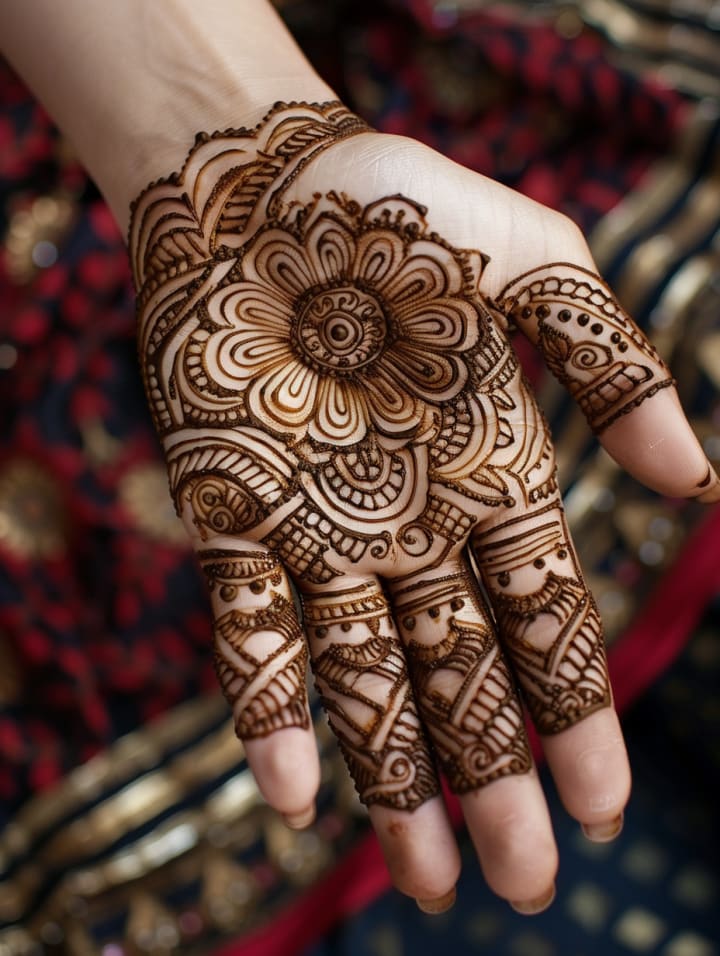
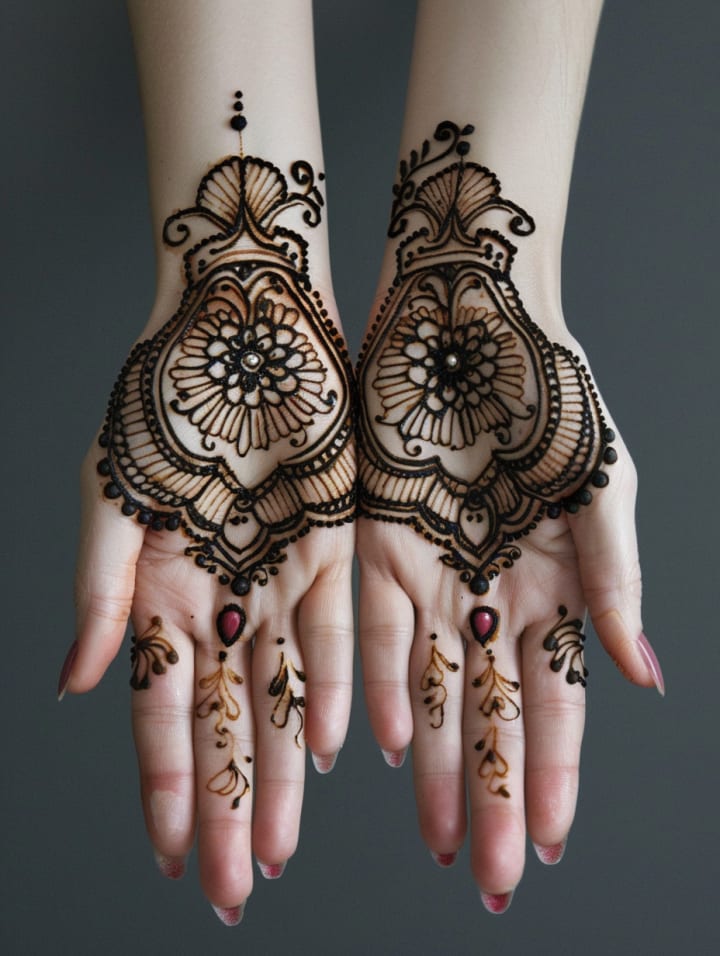
Stylish front hand mehndi designs:
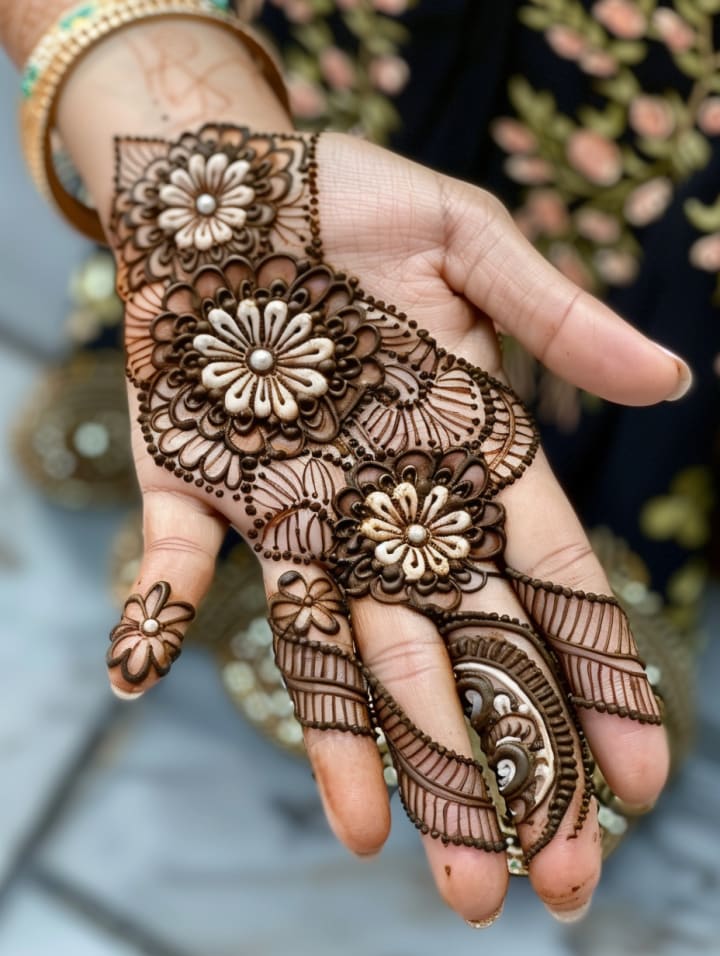
A stylish front hand Mehndi design blends modern trends with traditional patterns for a chic and contemporary look. This type of design typically features sleek, minimalistic elements like geometric shapes, delicate florals, and trendy motifs such as hearts or arrows. It often includes negative space, allowing the skin to show through and create a more refined, airy aesthetic. Stylish Mehndi designs may also feature fingertip patterns and bold wrist bracelets to complement the main design on the palm. Perfect for casual events or modern brides, these designs are a sophisticated blend of simplicity and elegance.
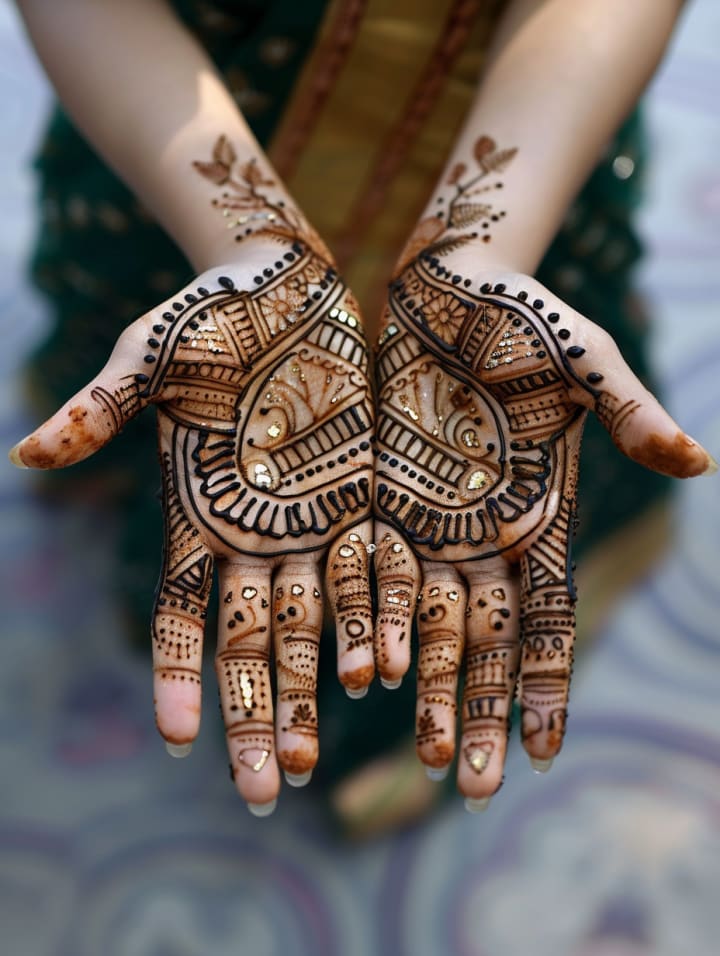
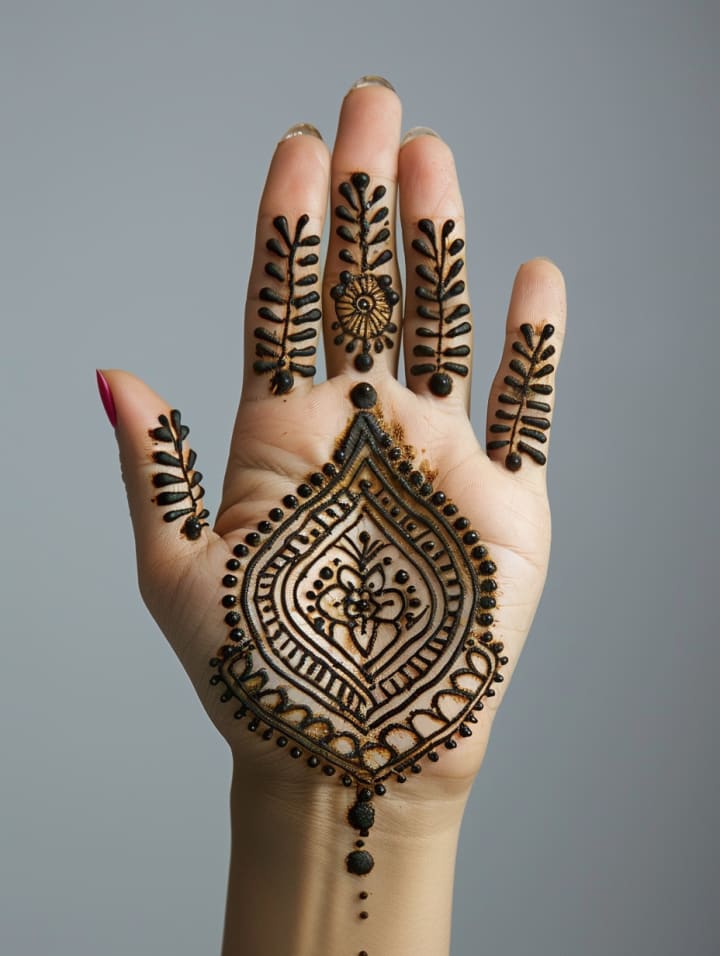
Simple front hand mehndi designs:
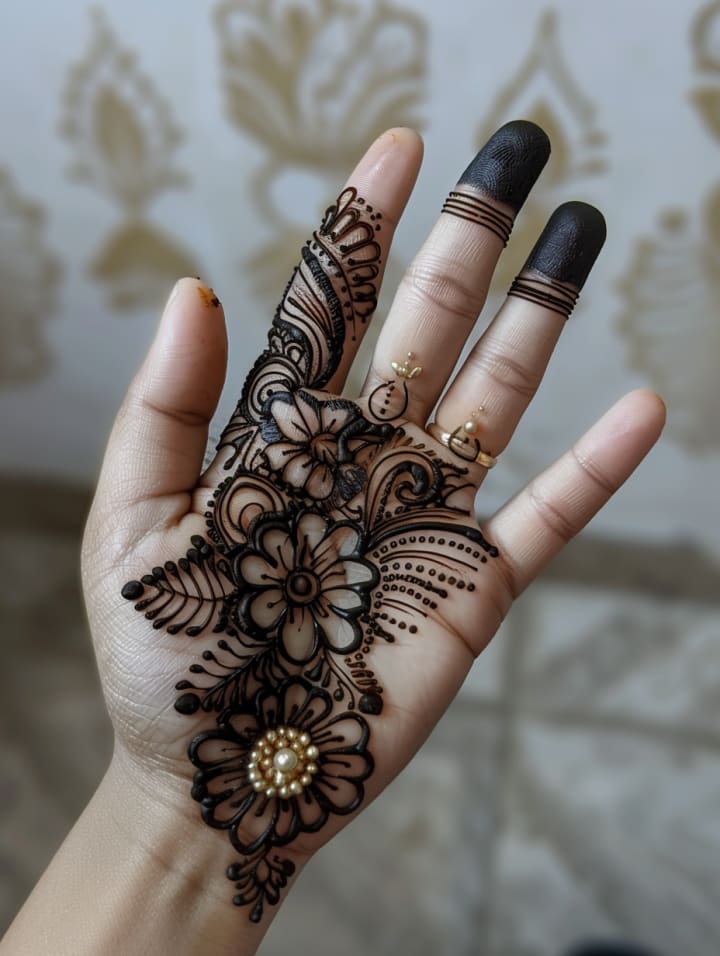
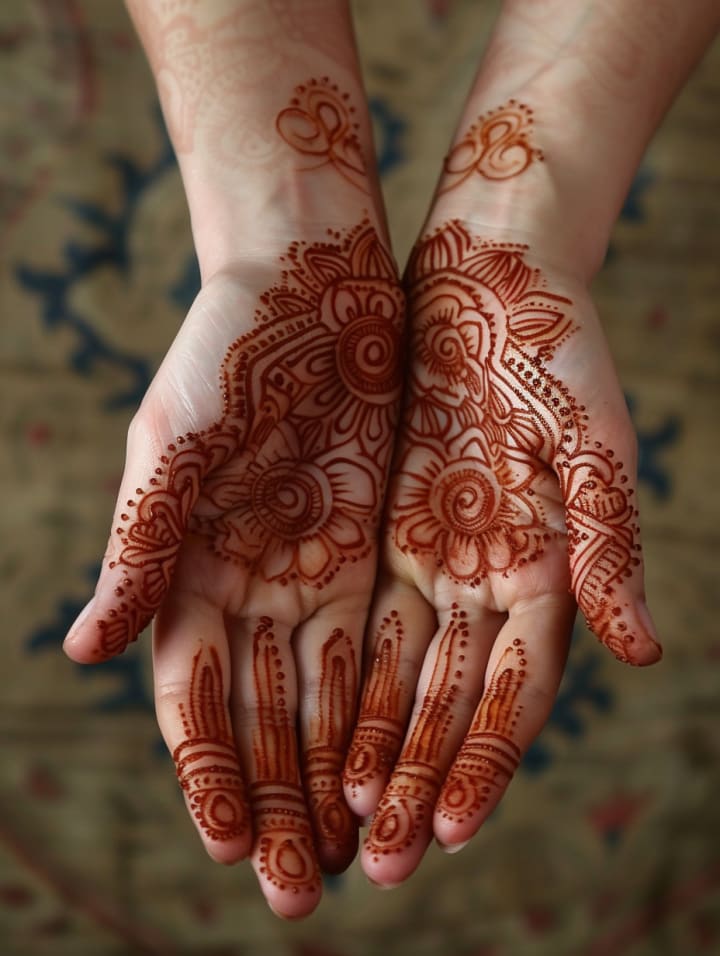
A simple front hand Mehndi design is minimal yet elegant, ideal for those who prefer a subtle and understated look. These designs often feature small floral patterns, vines, or geometric shapes that cover the palm and fingers in a neat and clean layout. The motifs are typically spaced out, allowing for more skin to show, which enhances the simplicity and charm of the design. Swirls, dots, and basic leaf patterns are commonly used, creating a graceful effect without overwhelming the hand. Perfect for everyday wear or small celebrations, this style is quick to apply and effortlessly beautiful.
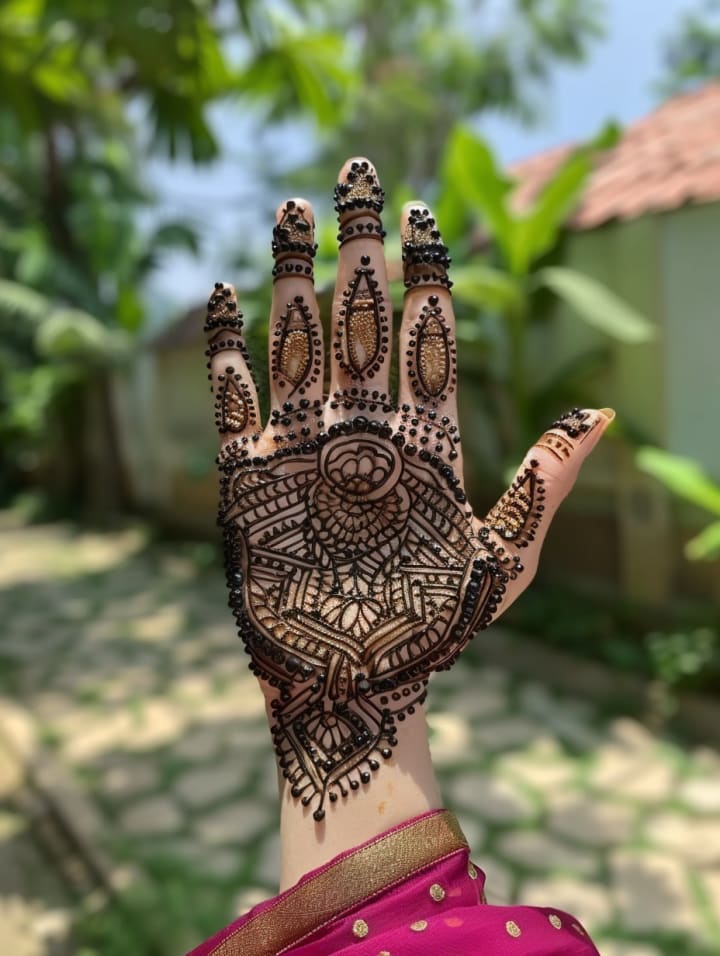
Modern front hand mehndi designs:
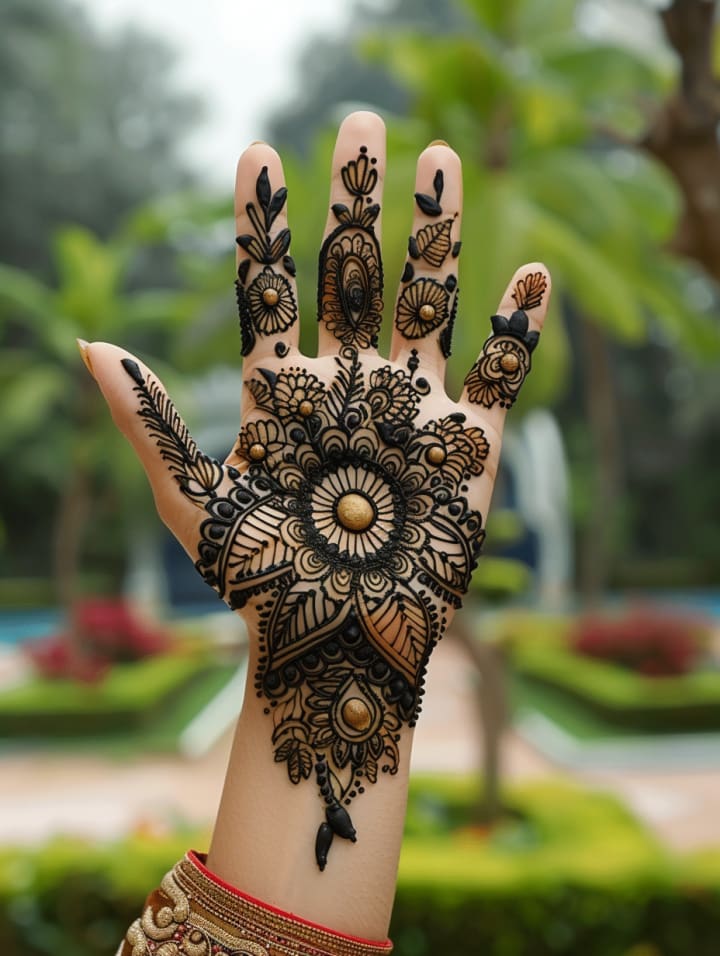

A modern front hand Mehndi design incorporates contemporary elements with traditional Mehndi patterns to create a fresh and stylish look. These designs often feature bold geometric shapes, abstract patterns, and minimalistic motifs, such as lines, dots, and trendy symbols like arrows or hearts. Negative space is used creatively to give the design a clean, airy feel, while intricate detailing is applied selectively for an elegant finish. The design may cover the palm partially and extend onto the fingers with unique accents, offering a trendy and chic appearance. Perfect for modern brides or fashion-forward events, this style redefines Mehndi with a sleek, artistic touch.
Easy front hand mehndi designs:
An easy front hand Mehndi design is perfect for beginners or those looking for a quick and simple application. These designs typically feature basic floral motifs, simple lines, and small dots, creating a charming and neat look. The pattern may start with a central flower or mandala on the palm, with vines or leaves extending toward the fingers. Some designs include easy shapes like hearts, spirals, or curved lines, making it effortless to create a beautiful result. These patterns are great for casual events or everyday wear, offering a lovely Mehndi look without requiring much time or skill.
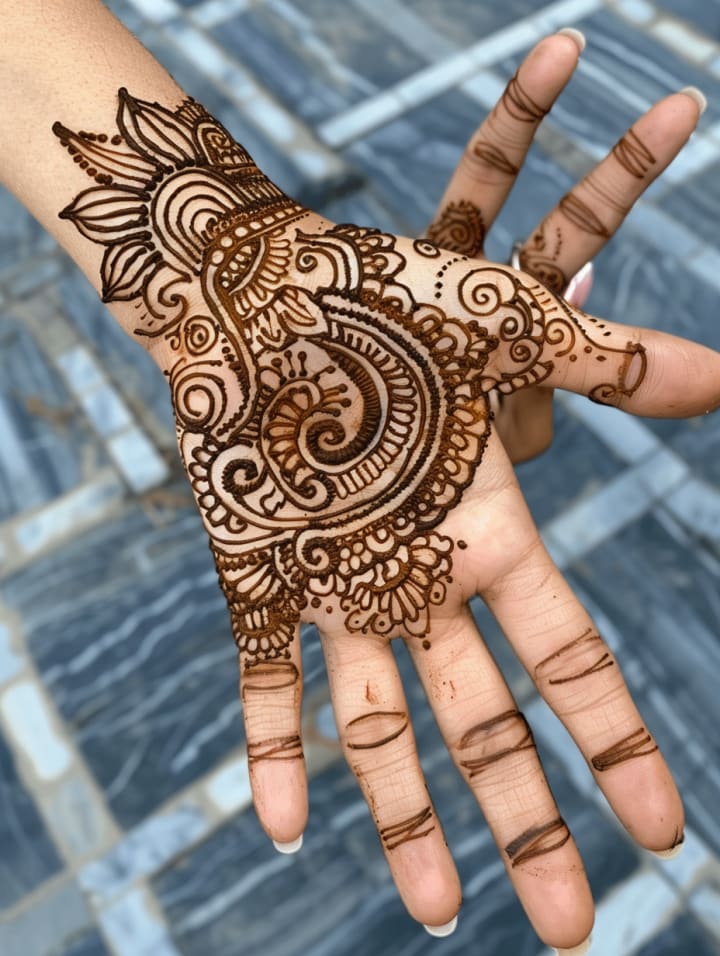
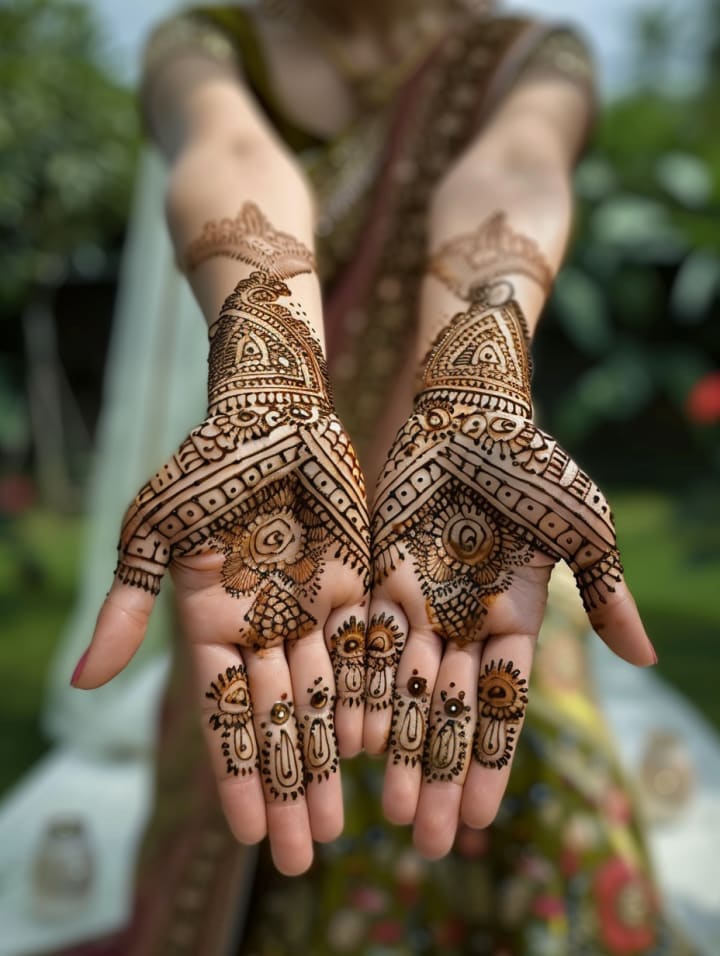
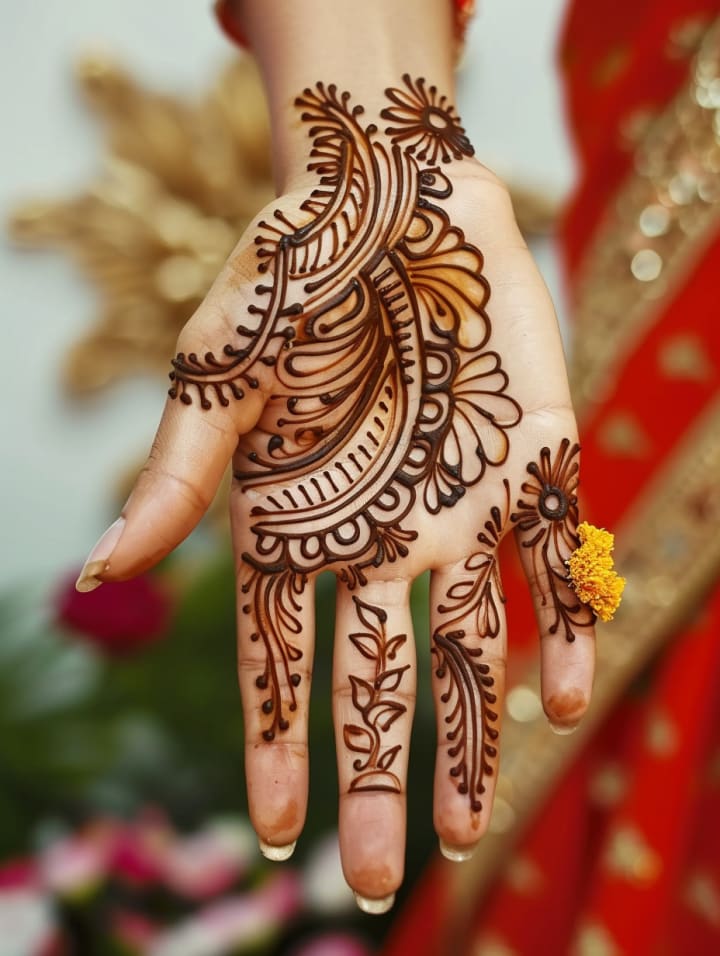
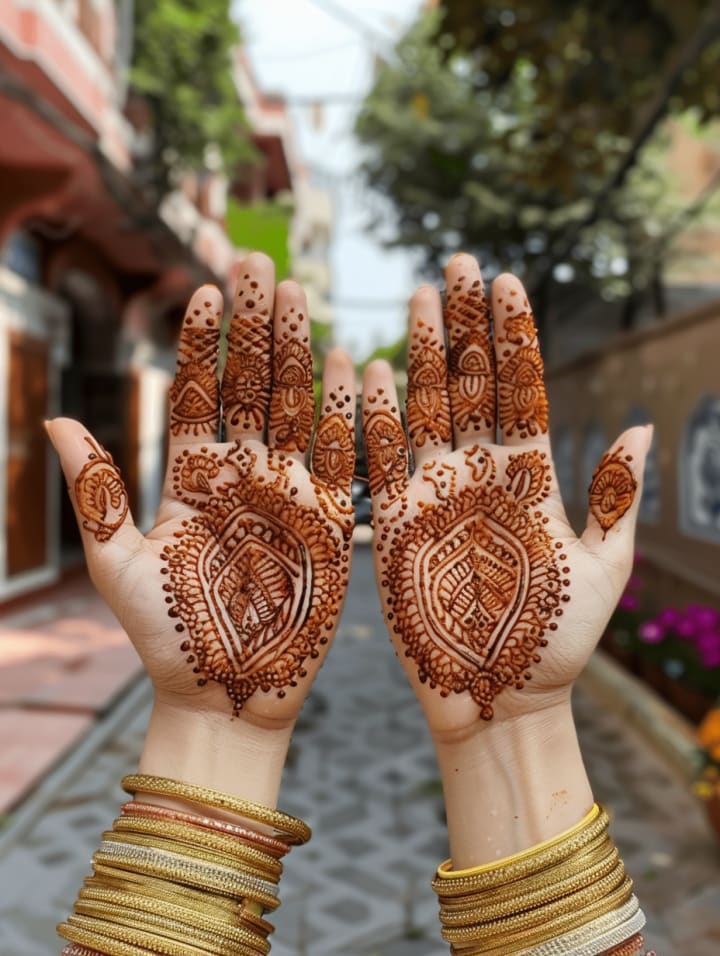
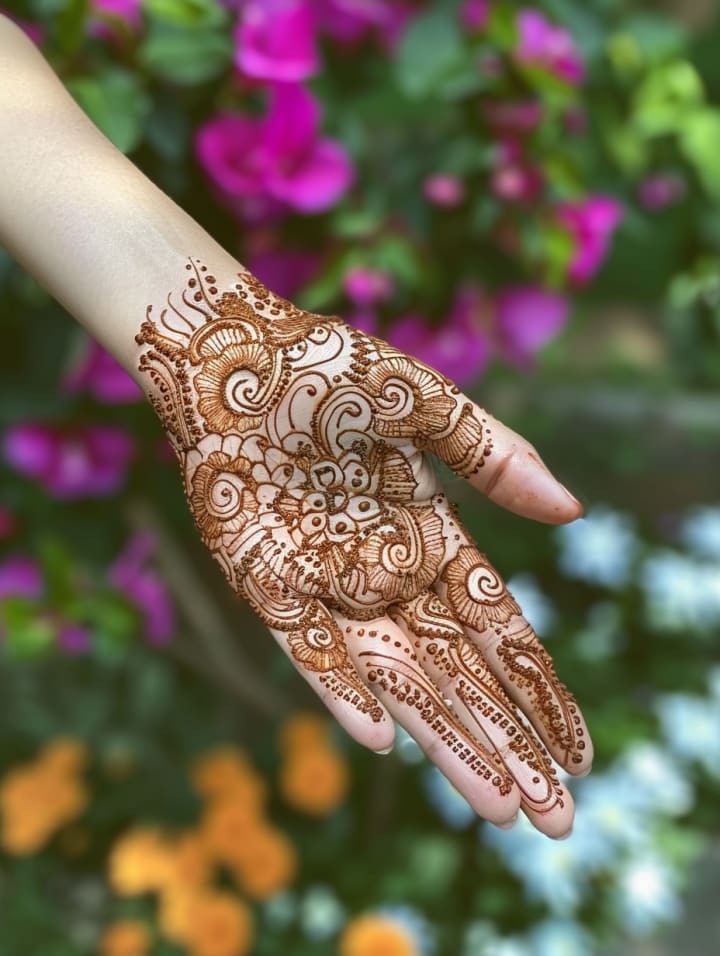
Arabic front hand mehndi designs:
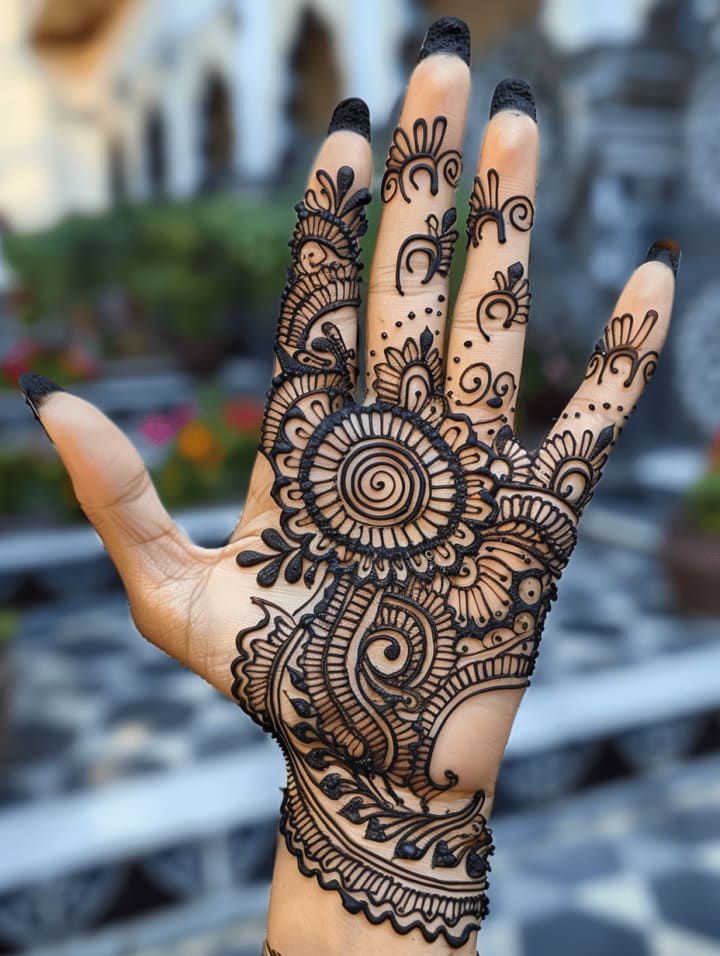
Arabic front hand Mehndi design is known for its flowing, bold, and artistic patterns. This style features large floral motifs, paisleys, and leafy vines that gracefully cover the palm and extend towards the fingers. The designs are typically less dense, with more prominent gaps and negative space, creating a balanced and elegant look. The bold lines and curves give it a striking appearance, while the use of shading adds depth to the design. Arabic Mehndi often trails up the hand in diagonal patterns, giving it a stylish and modern feel, making it perfect for both casual occasions and formal events.
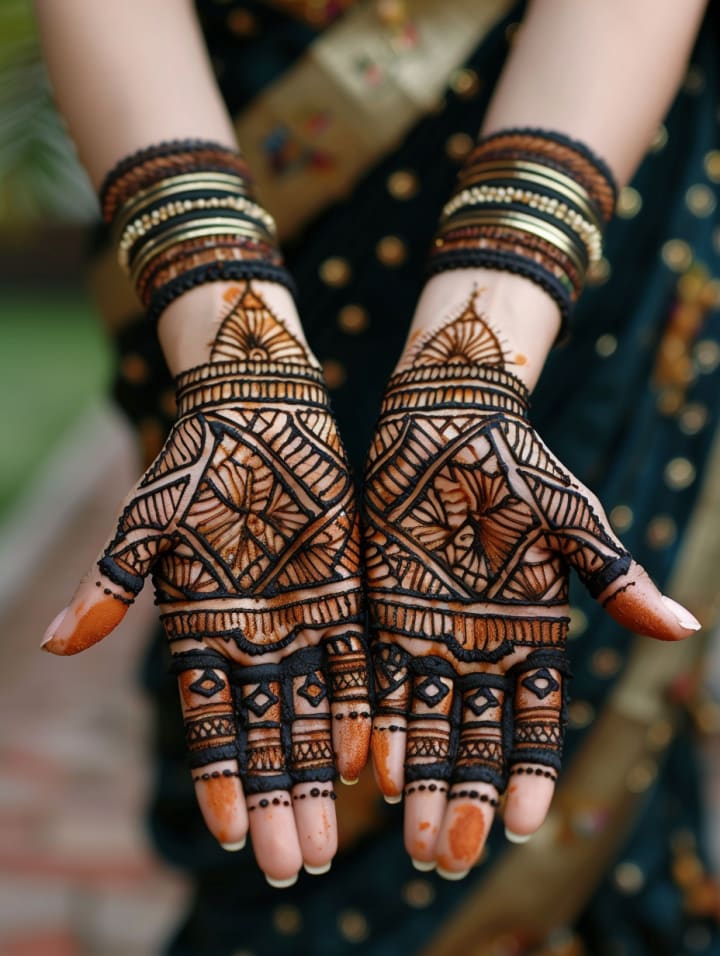
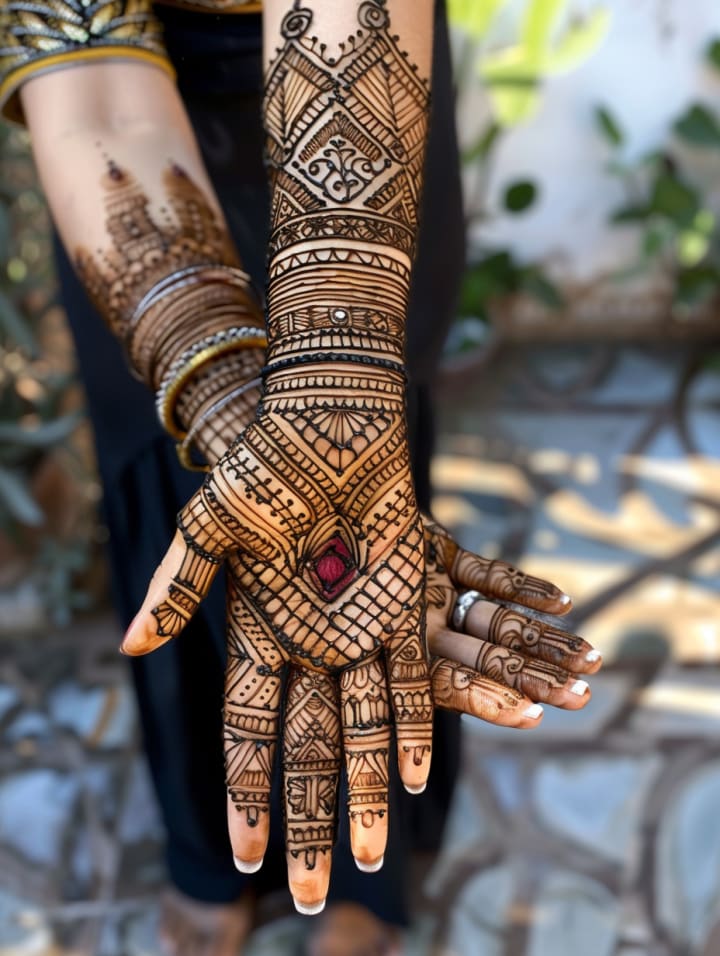
Bridal front hand mehndi designs:
A bridal front hand Mehndi design is intricate and elaborate, symbolizing beauty and tradition for a bride on her special day. It typically covers the entire palm and extends up the fingers and wrist, often incorporating detailed motifs like peacocks, mandalas, paisleys, floral vines, and bridal figures. The design is dense, with fine, delicate lines creating a mesmerizing pattern. Some designs feature the bride and groom’s initials or faces, adding a personal touch. Bridal Mehndi emphasizes symmetry and precision, with complex, layered patterns that evoke elegance and opulence, making it a stunning choice for weddings and festive ceremonies.
Front Hand Mehndi Design Tutorial (Step-by-Step Guide)
Materials Needed:
- Mehndi cone (available in various stores)
- Tissues for cleaning excess Mehndi
- Small bowl of water (optional for cleaning tips)
- Design reference (optional)
Step 1: Start with a Clean Hand Make sure your hand is clean and dry before applying the Mehndi.
Clean skin helps the design adhere better and gives longer-lasting color.
Step 2: Begin at the Palm
Start with a simple central motif, like a circle or a small flower in the center of the palm.
Add leaves, petals, or swirls around this central point, gradually expanding outward to cover the palm.
Step 3: Create Floral and Paisley Motifs
Use simple floral or paisley designs to fill the empty spaces around the palm.
Draw large paisleys or floral clusters that trail toward the base of the hand.
Step 4: Work Up the Fingers
Decorate the fingers with thin lines, dots, and leafy vines.
For a simple approach, draw a single vine that winds its way up each finger, adding small leaves or dots along the way.
Step 5: Add Details
Fill in some parts with small details like cross-hatching, dots, or small circles.
Use negative space to create a balanced look; don’t fill every part, as it allows the design to breathe.
Step 6: Extend the Design to the Wrist
Draw a simple bracelet-like pattern or floral vine at the wrist to complete the design.
You can also add diagonal lines or spirals to add more depth.
Step 7: Final Touches
Add additional dots or small accents around the larger motifs for extra detail.
Clean up any mistakes with a tissue.
Step 8: Let the Mehndi Dry
Allow the Mehndi to dry for 1-2 hours. Avoid touching anything during this time to prevent smudging.
Once dry, gently rub off the dried Mehndi paste. Do not wash with water immediately for a darker stain.
About the Creator
pestosol
Hi.
I am Hmimda 30 years old From Algeria. I am a blogger. I like to share articles about decoration and designs
I Spent 30 Days Without Social Media and This Is What Happened to My Brain
I remember the exact moment I realized I had a problem. It was 2:00 AM, and I was scrolling through a stranger’s vacation photos from 2018. My eyes were burning, my neck ached, and I felt a strange emptiness in my chest. That night, I decided to do something radical: I deleted every social media app on my phone for 30 days.
By Hazrat Umerabout 6 hours ago in Lifehack


Comments
There are no comments for this story
Be the first to respond and start the conversation.