
The Easy Way to Make a Beautiful DIY Hydrangea Wreath
The secret to preserving hydrangeas for gorgeous wreaths

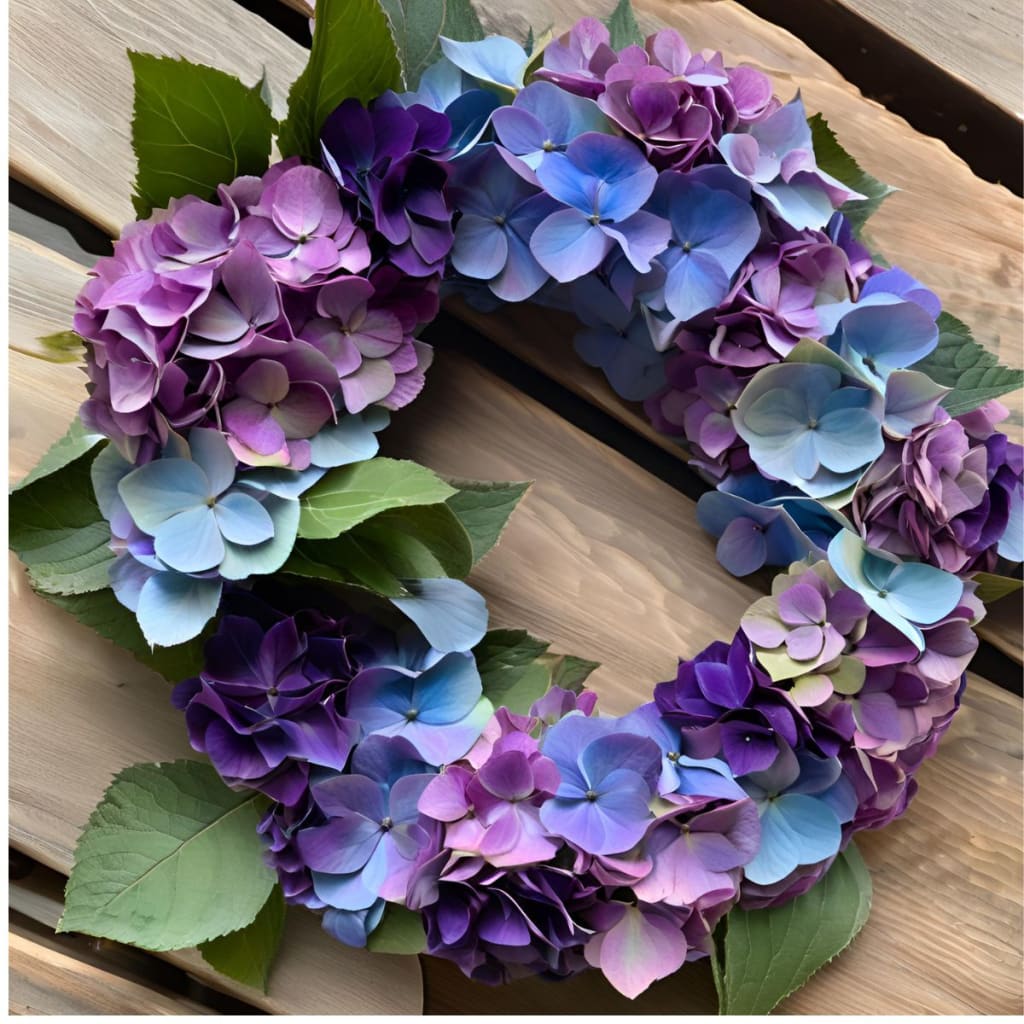
Imagine going out into your garden or yard, enjoying the flowers in bloom, and feeling the need to create something beautiful. Your gaze lands on your hydrangea flowers in full bloom, and an idea hits you. What if you could preserve their beauty and make a stunning DIY wreath that will last? It's way easier than you think. Trust me, once you start, you'll be hooked on drying hydrangeas and turning them into a wreath that'll make your wall look like it stepped out of a Pinterest board. Ready to dive in? Keep reading.
Drying your own hydrangea flowers
When making a DIY hydrangea wreath, you can either dry your own, which I'll show you how to do successfully, or you can purchase silk hydrangea flowers if you don't have access to fresh ones.
When I first started drying my own hydrangeas, no matter if I hung them upside down to dry, or put in a vase upright to dry, some of them shriveled up and wilted, instead of holding their shape. I could not figure out what the problem was, and I was SO frustrated!
Finally, I found the key! The biggest trick to dry your hydrangeas perfectly, is the timing of when you cut the flowers. Cutting them right before you anticipate the first fall frost is best. If you pick them mid-summer, they just will not dry correctly.
Another indicator that they are ready to cut, is the tiny little florets inside the large petals, will open. If those are closed, your hydrangea will wilt.
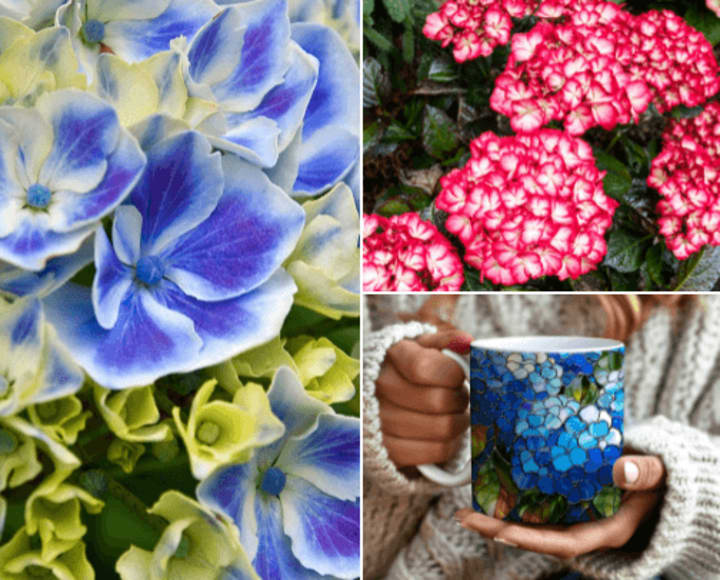
The other advantage to waiting until the end of summer / early fall to harvest is the colors they start turning. Stunning!
After cutting your hydrangeas to dry (be sure to cut plenty so you have enough for your wreath) there are two methods you can chose for drying. Both work well, as long as you cut them late enough in the season.
Hang the blooms upside down in a darkened room to dry. Make sure the area is a dry room and not humid.
Place them upright in a big vase or basket in a dark room. Make sure you give them plenty of space so air can flow in between the flower heads and they are swished together.
The time it takes them to dry depends on humidity and temperature. Check them after one week, then every few days until they are dry. At this point, gently pick off any dead, brown, and discolored portions of the flower.
How long do dried flowers look good?
Dried hydrangea wreaths are beautiful and versatile in a home plus fun to make. These can make great gifts for others as well.
People often expect dried floral arrangements to last forever and are disappointed when they start looking bad after a couple of years. This is a misconception. Expect them to look good for about eight months to one year.
When you think about it, how long do fresh flowers last? Dried ones give you a great bang for your buck. When they start looking bad, take them down, strip the flowers off the wreath base, and toss the flowers out. You can recycle that wreath base with a new batch of flowers in the next season.

Crafting your hydrangea wreath
Gather your supplies to create your DIY hydrangea wreath. You'll need the following:
- Wreath base in the size you want, either grapevine or styrofoam works well
- Floral wire
- Wire cutters (to use for both the wire and cutting the hydrangeas)
- Optional - baby's breath flowers and/or ribbon
- Hot glue gun and glue, I like a cordless version best
Choose the type of base you want to use for a wreath. My personal favorites are either Styrofoam or grapevine-type bases.
Take the floral wire and wrap it around the wreath base, and create a loop from the wire which will hang from a wall. Then wrap the wreath again after creating the loop, to make it more secure.
Try hanging it from the wall or door where you intend to hang it, to make sure it hangs correctly. Make any needed adjustments while the wreath is bare. Much easier to do this before the flowers are attached!
If you opt to use a ribbon, it can be glued to the areas of the wreath you want. If you tie a bow for your wreath, that can be wired onto your base. It's easier to do the ribbon first, and then add your flowers around that.
Using wire cutters, separate each large hydrangea bloom into smaller florets. Hot glue each floret into the wreath base, poking the stem down into the Styrofoam base. If using a grapevine base, glue the stems to the woody sticks in the position you want.
With each bloom, space it out over the surface of the wreath, as you go. For example; a floret at the top, next left side, bottom, then right side, then inside the circle of the wreath, and outside of the wreath. Continue to do this with each bloom until you fill it.
Balance is what you are looking for. Balance in shape, you don't want any sticking out way above the others, or one side of the wreath fuller than the other.
Try stepping back and looking from a distance and just think "balance of shape". The distance will quickly show you any areas that may need more or less to give that balance.
The second area to look for is balance of color. This is the purpose of doing each bloom all over the wreath as you go, then filling in with other blooms, so you achieve a balance of color. Give another once over to check on that.
Keep gluing your flowers until it is the fullness you desire. If using a grapevine wreath base, some people like to leave portions of the branches showing through. It's your preference, enjoy your creative style and the process.
This wreath is either finished, or you can add small sprigs of dried baby's breath to it. Glue little sprigs of it in the spaces you want, again looking for balance.
Your whole wreath depends on the look you want to create. Many times, the simplicity of only the hydrangea flowers is stunning.
Your wreath is now ready to hang and look gorgeous! If it is in direct sunlight it will last a much shorter time period.
_________________________________________________
I'd love to hear if you make these, or decide to make them. If you enjoyed this, please like and comment. Thanks!!
__________________________________________________
I've also curated a list of my favorite supplies for growing hydrangeas.
This article contains affiliate links, and I may receive a small commission after you click one of the links at no extra charge to you.
About the Creator
Val Garner
Writer and coffee addict in the Pacific Northwest. Follow me over on Newsbreak. You can sign up there as well to earn income with your writing, good to diversify and expand your earnings.
Keep reading
More stories from Val Garner and writers in Lifehack and other communities.


Comments (1)
Val, I love drying flowers for arrangements. I have a snowball bush that I used to add to the table vases at my daughter's wedding. Your article reminded me how much I love these projects!