
Homemade Bounty Bars: Easy, Delicious & Healthier Alternative
Homemade Bounty Bars

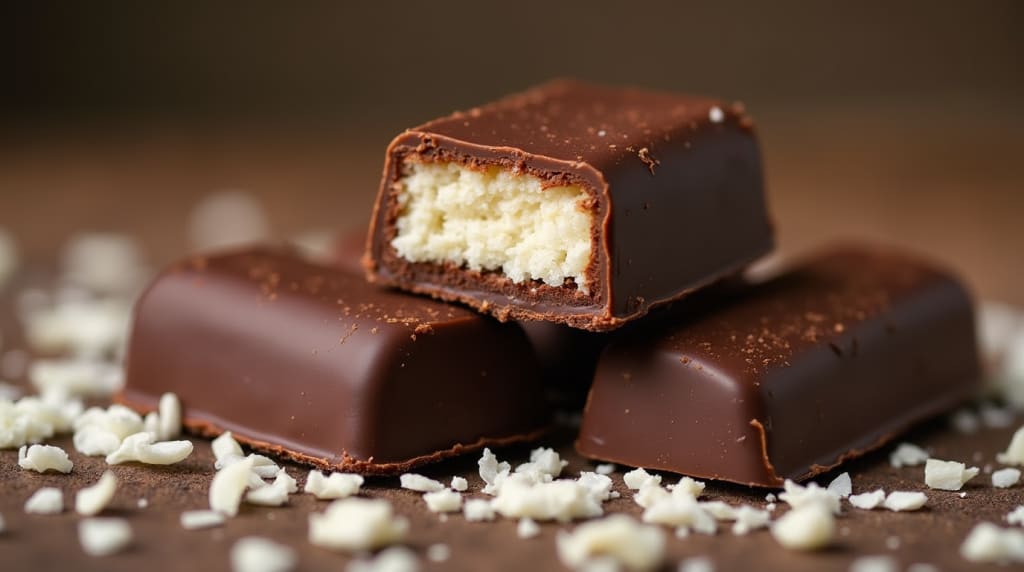
If you love the rich combination of chocolate and coconut, then Homemade Bounty Bars are a must-try! These no-bake coconut bars are coated in silky chocolate, just like the store-bought version—but with better ingredients and more flavor. Making them at home allows you to control the sweetness, chocolate quality, and ingredients, ensuring a healthier and tastier treat.
This guide will take you through a step-by-step recipe, share expert tips, and suggest delicious variations to make these bars truly special.
For more chocolate-based treats, check out these easy chocolate truffles—a perfect companion to your homemade Bounty bars.
Why Make Homemade Bounty Bars?
Store-bought Bounty bars often contain preservatives and artificial flavors. Making them at home offers several benefits:
No artificial ingredients – Just pure coconut, chocolate, and natural sweeteners.
Customizable sweetness – Adjust sugar levels to your taste.
Healthier options – Use sugar-free, dairy-free, or keto-friendly alternatives.
Fun to make – Simple enough for kids to help.
If you enjoy easy-to-make chocolate treats, you might also love these chocolate-covered marshmallow cookies.
Ingredients for Homemade Bounty Bars
For the Coconut Filling:
2 cups desiccated coconut (unsweetened)
1/2 cup sweetened condensed milk (or sugar-free alternative)
1/2 teaspoon vanilla extract (optional)
For the Chocolate Coating:
200g (7 oz) dark or milk chocolate
1 teaspoon coconut oil (for smoother coating, optional)
Optional Additions:
2 tablespoons coconut cream – For extra richness
1/4 cup chopped nuts – Adds a crunchy texture
Sugar-free condensed milk – For a low-carb version
For another simple yet indulgent coconut dessert, try these chocolate rice krispie balls.
Essential Tools
Mixing Bowls: Available on Amazon
Measuring Cups & Spoon: Available on Amazon

Step-by-Step Recipe for Bounty Bars
1. Prepare the Coconut Mixture
In a mixing bowl, combine desiccated coconut, condensed milk, and vanilla extract.
Stir until the mixture forms a sticky dough.
2. Shape the Bars
Scoop 1-2 tablespoons of the mixture and shape into small bars or bite-sized pieces.
Place them on a parchment-lined baking sheet.
3. Freeze the Bars
Transfer the bars to the freezer for 30 minutes to firm up.
This prevents them from breaking when dipped in chocolate.
4. Melt the Chocolate
Melt 200g of chocolate in a double boiler or microwave in 30-second intervals, stirring in between.
Add 1 teaspoon coconut oil for a smoother texture.
5. Coat the Bars in Chocolate
Using a fork, dip each frozen bar into the melted chocolate, ensuring full coverage.
Let excess chocolate drip off before placing back on the baking sheet.
6. Let the Chocolate Set
Refrigerate for 15-20 minutes until the chocolate hardens.
Expert Tips for the Best Bounty Bars
Prevent Dryness – If the coconut mixture feels too crumbly, add a bit of coconut cream.
Get a Smooth Finish – Use melted coconut oil to thin out the chocolate for a glossy coating.
Use a Fork for Dipping – This ensures even coverage without excessive pooling.
Store Properly – Keep in an airtight container to maintain freshness.
For a unique chocolate dessert, try this Dubai pistachio chocolate bar—a must-try for chocolate lovers.
Flavor Variations & Customizations
Vegan Bounty Bars – Use dairy-free condensed milk and vegan chocolate.
Dark Chocolate Version – Opt for 70% dark chocolate for a richer taste.
White Chocolate Bounty Bars – Swap the milk or dark chocolate for a creamier twist.
Keto-Friendly – Replace condensed milk with coconut cream and erythritol.
Looking for more homemade sweet treats? Try these red velvet cheesecake balls for a fun twist.
Nutritional Information
Nutrient Per Bar (Approx.)
Calories ~180 kcal
Sugar ~12g
Fat ~10g
Protein ~2g
These bars are lower in sugar and preservatives than store-bought versions.
Frequently Asked Questions (FAQs)
Can I Use Fresh Coconut Instead of Desiccated?
Yes, but it should be finely shredded and slightly dried before mixing.
How Long Do Homemade Bounty Bars Last?
Fridge: Up to 2 weeks.
Freezer: Up to 3 months.
Why is My Chocolate Cracking?
If the coating cracks when biting, it may not have been tempered correctly. Let it set at room temperature before refrigerating.
Can I Make These Sugar-Free?
Yes! Use sugar-free chocolate and homemade condensed milk for a low-carb version.
How Do I Store Them?
Keep them in an airtight container in the fridge or freezer.
For another fun, bite-sized dessert, try these peanut butter balls.
Final Thoughts
Making your own Bounty bars at home is easy, fun, and rewarding. With just a few ingredients, you can create a healthier and more delicious version of this classic treat.
Whether you love classic coconut and chocolate or want to experiment with flavors, this recipe is perfect for you. Give it a try and let us know your favorite variation in the comments.
Looking for more homemade chocolate treats? Check out these Christmas brownies for another festive delight.
About the Creator
Freshlymaderecipes
Welcome I'm passionate about creating easy, delicious recipes that bring joy to every table. From quick weeknight meals to delightful treats, flavorful dishes and savor the journey with me! 🌟
Keep reading
More stories from Freshlymaderecipes and writers in 01 and other communities.
Pizza Fiesta: A Spicy Twist on a Classic Favorite
Introduction to Pizza Fiesta Pizza is one of the most versatile and beloved dishes worldwide, offering countless variations that cater to different tastes. One of the most exciting takes is Pizza Fiesta, a fusion of classic Italian pizza with bold Mexican flavors.
By Freshlymaderecipes11 months ago in 01
How POS Software Development Is Transforming Retail Businesses in 2026
Retail in 2026 looks dramatically different from what it did just a few years ago. The shift toward digital-first shopping experiences, omnichannel sales strategies, and data-driven decision-making has reshaped the industry. At the center of this transformation is POS software development.
By shane cornerus5 days ago in 01


Comments
There are no comments for this story
Be the first to respond and start the conversation.